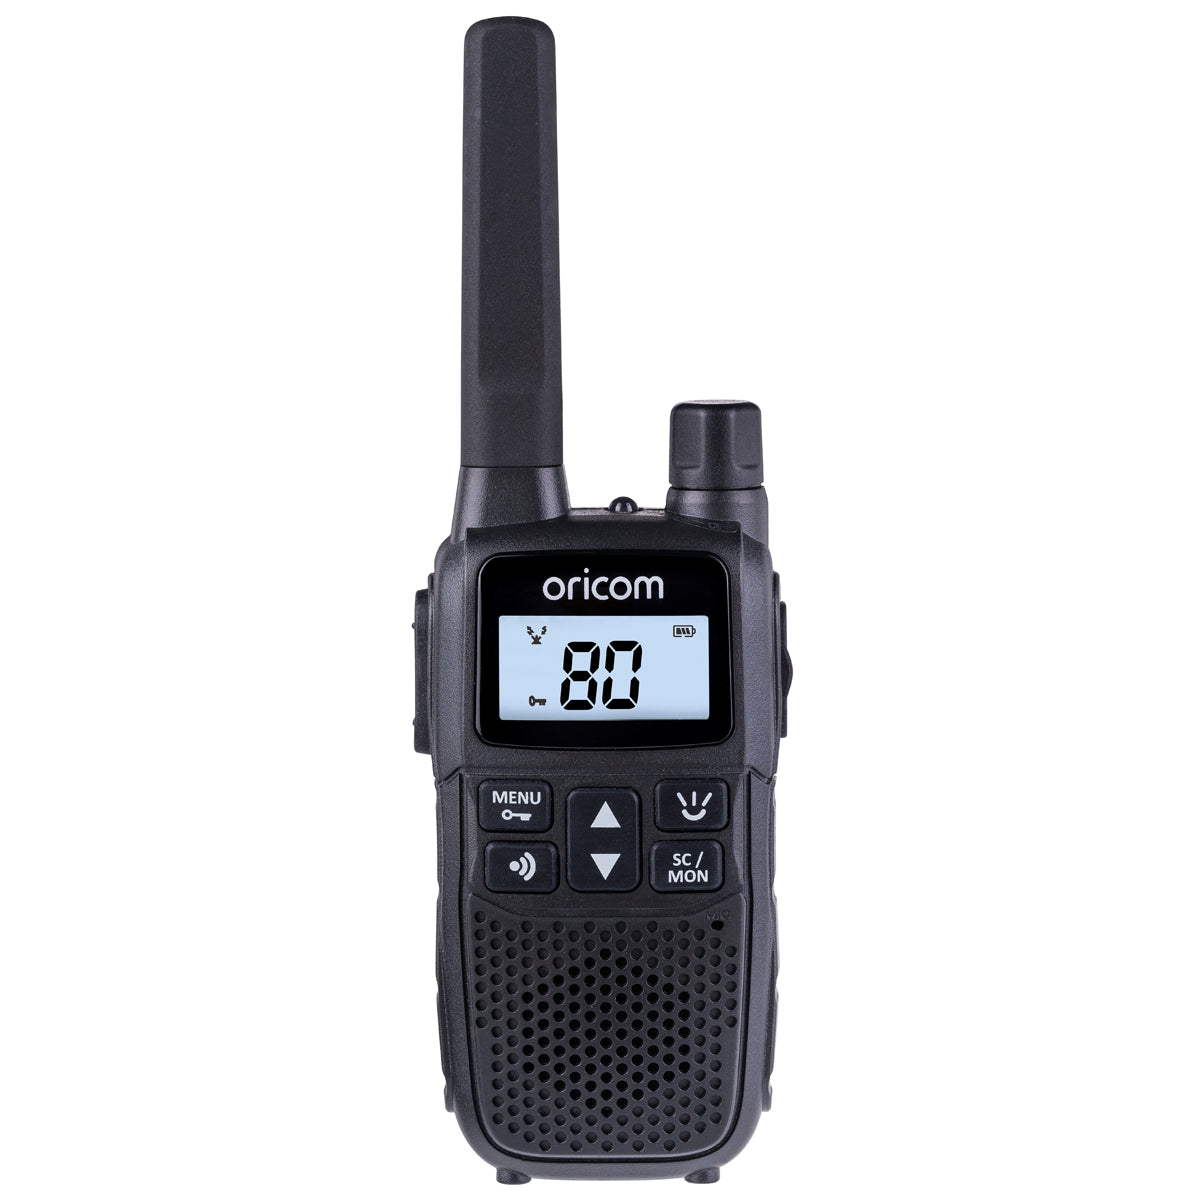
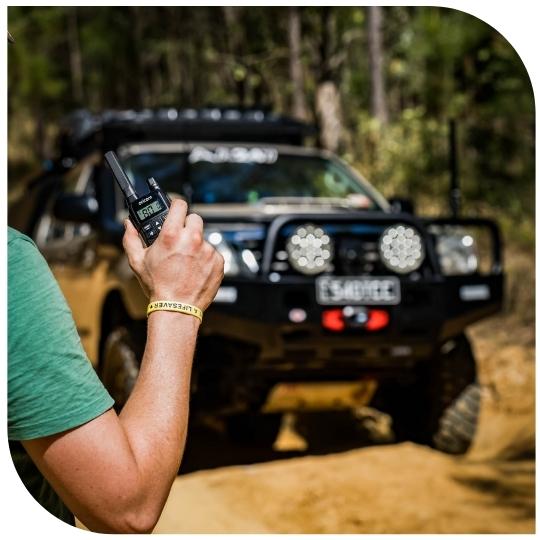

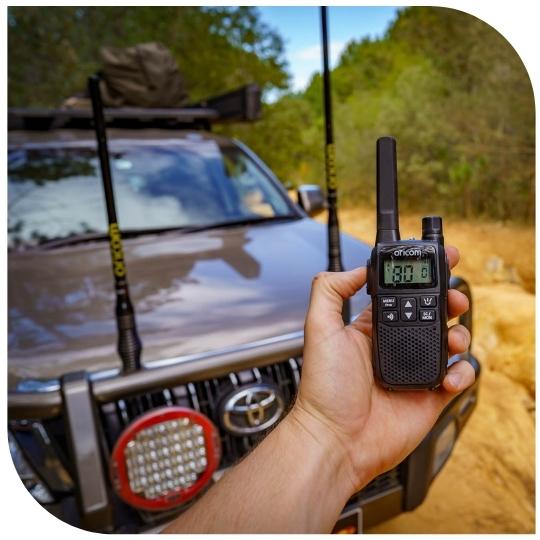
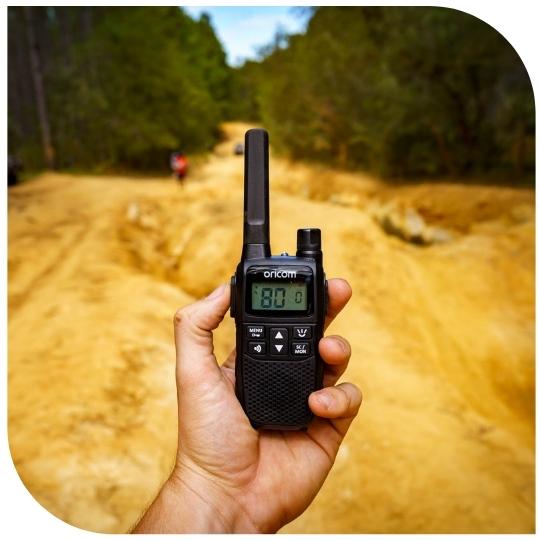


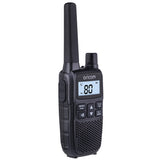


UHF2200-1 Handheld 2 Watt UHF CB Radio Single Pack

2 Watt Transmit Power

3 Year Warranty

80 UHF CB Channels

100% Aussie Owned Since 2003


Product Details
Key Features:
- 2 watt transmit power
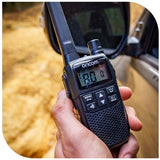
- Up to 10km range*
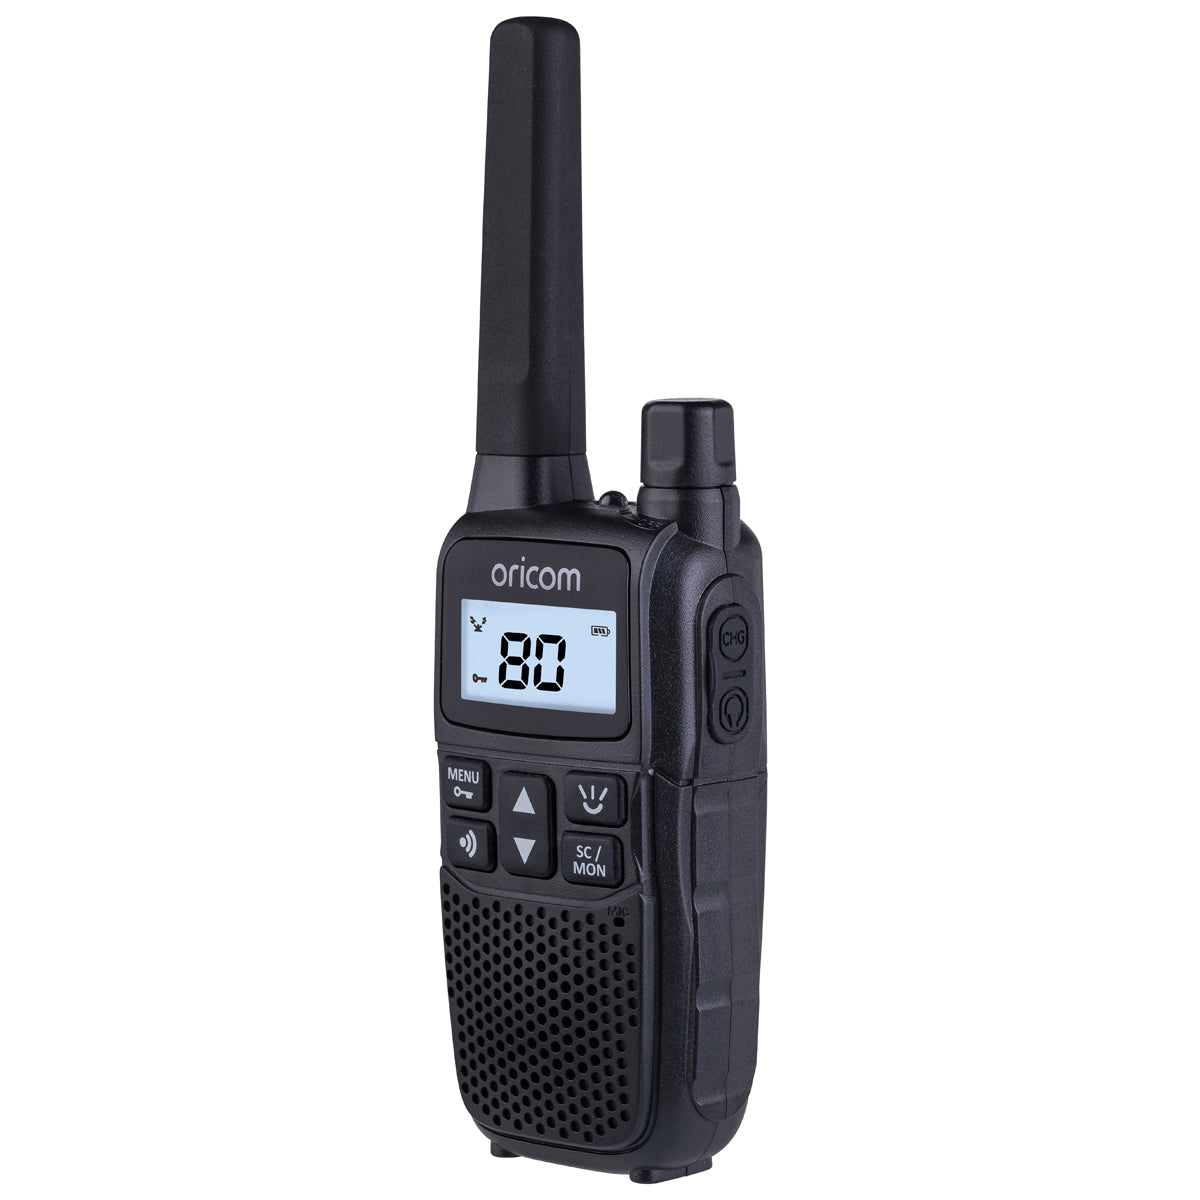
- LED torch
- 80 Channels
- Duplex (range extender)
- 38 CTCSS & 83 DCS codes
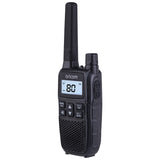
- Backlit display
- Dual watch
- Automatic squelch control
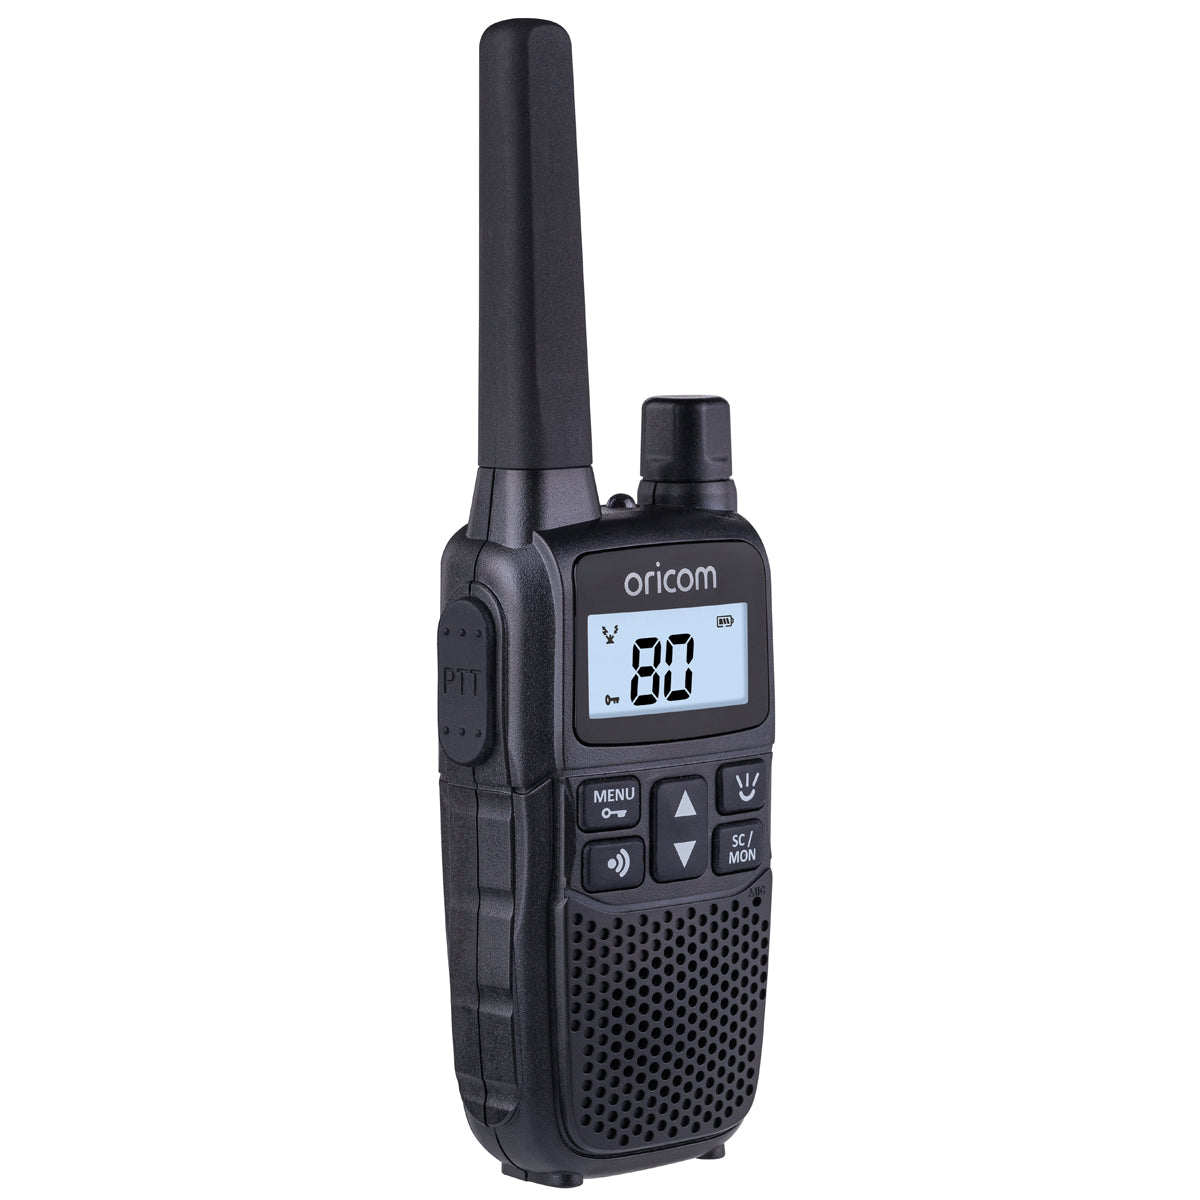
- Hands-free (VOX) capable
- 3 Year warranty
*Range can vary due to topographical and atmospheric conditions.
Pack Includes:
- 1x UHF CB Radio
- 1x USB Charging Cable
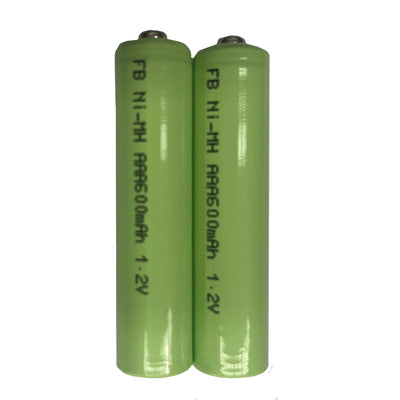
- 4x Rechargeable Batteries
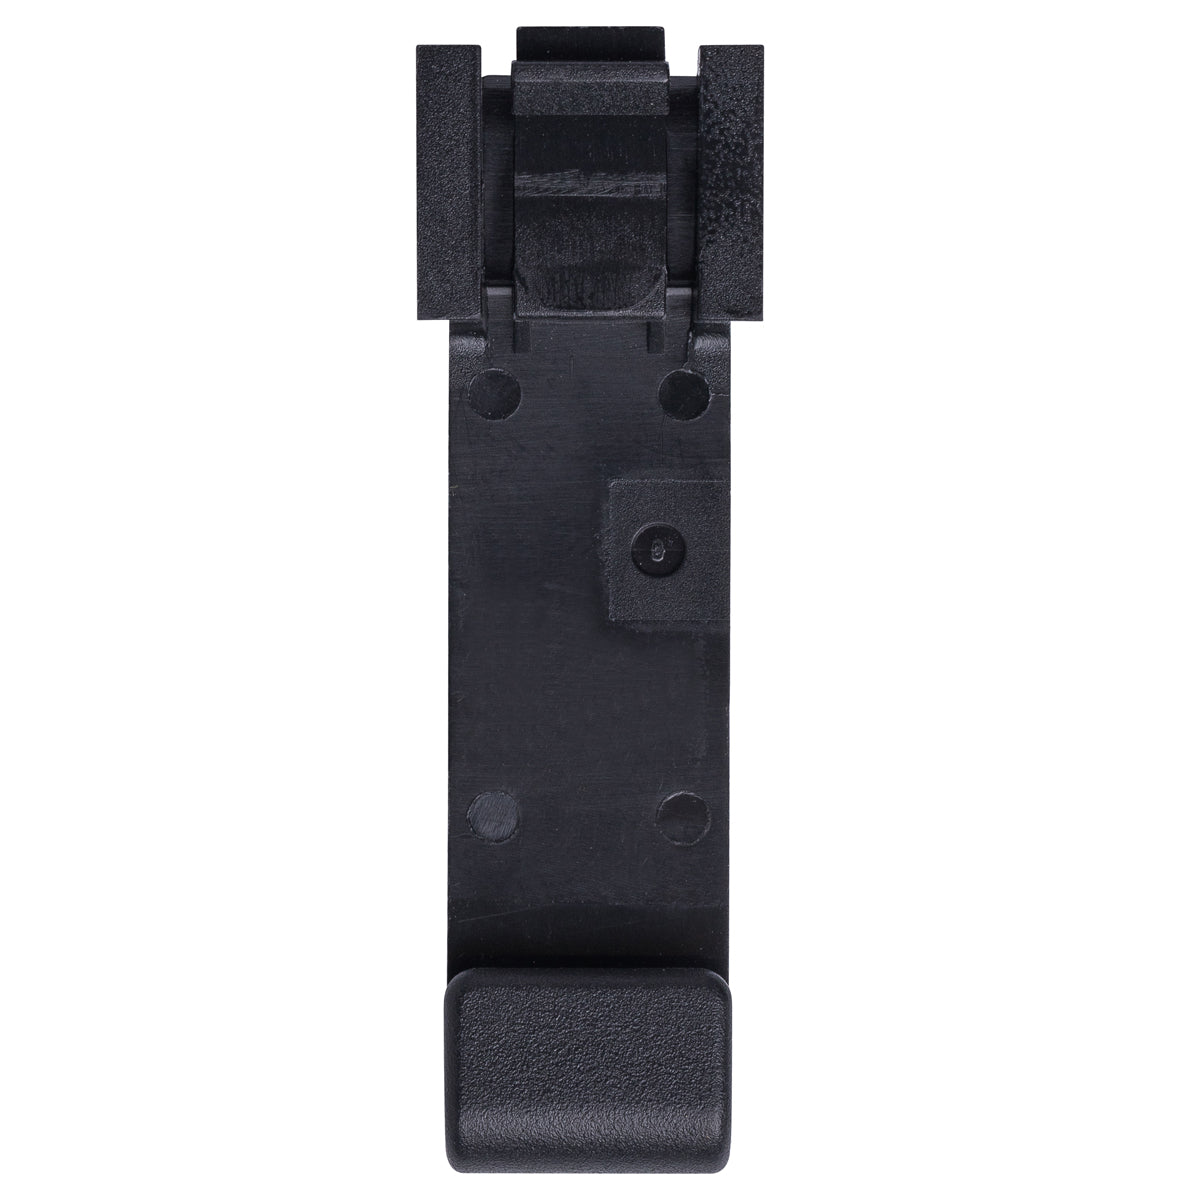
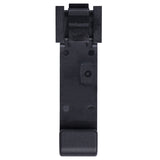
- 1x Belt Clip


.


Files
User guides
Product registration


Additional Information
- Frequently Asked Questions
- Videos Guides
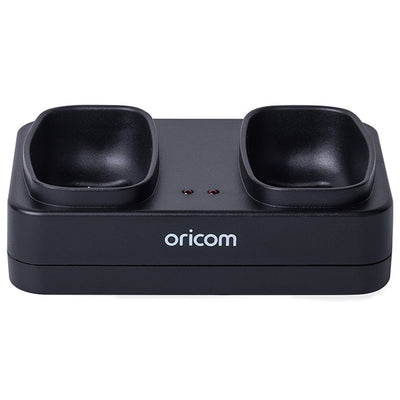
How do I use the desk cradle to charge the batteries?
1. Insert the small plug on the end of the mains adaptor into the power-in connection jack at the back of the desktop charger. 2. Plug the mains adaptor into a 230V AC, 50Hz main socket with the switch on the socket set to Off. 3. Switch On the main socket. 4. Place the units in the charge cradle in an upright position. The charge LED indicators will light up. It takes about 10 hours to fully charge the batteries if they are completely run down. New batteries take up to 14 hours to fully charged.
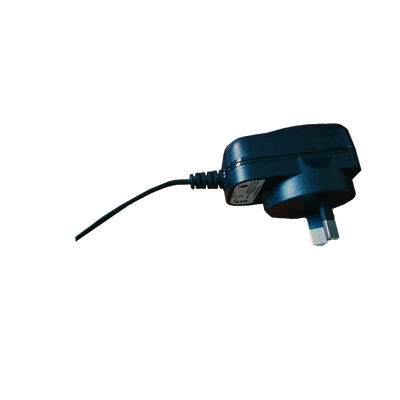
How do I use the AC adaptor to charge the batteries?
1. Insert the round connector of the 9.0V DC/500mA adaptor into the charge jack. 2. Plug the mains adaptor into a 230V AC, 50Hz main socket with the switch on the socket set to Off. 3. Use only the power supplies listed in the user instruction. Then switch ON the main socket. It takes about 10 hours to fully charge the batteries if they are completely run down. New batteries take up to 14 hours to fully charged.
What is the transmitting range of this radio?
The talk range depends on the environment and terrain. In general, the radio can reach further in wide open spaces, without obstructions such as hills or buildings. It will be affected by concrete structures, heavy foliage and by operating radios indoors or in vehicles. Don’t try to use two radio units which are less than 1.5m (5 feet) apart. Otherwise, you may experience interference.
How do I turn this radio on?
To Turn ON; a. Rotate the POWER/VOL button clockwise until the LCD screen turns ON and displays the current channel. To switch OFF; b. Rotate the POWER/VOL button counter clockwise until the LCD screen turns blank. Note: Every time you rotate the Power/Vol button to turn ON, the volume will also open. The volume level will increase or decrease by rotating the Power/Vol button.
How do I change the channels on this unit?
1. To select the main channel, press the up or down arrow keys to select your desired main channel number. 2. Press the PTT key to confirm and quit or Press MENU to continue to the next menu setting. You have 10 seconds to decide before auto-reverting back to the main screen.
How do I activate the Torch function?
Press and release the Light button on the left side of the unit. The LED will light at the bottom of the unit. To turn Off, press and release the Light button.
Is this radio suitable for use outside of Australia?
All Oricom products are approved for use in Australia and NZ only, and although they will still work in other countries, they may not meet that countries requirement’s for voltage, operating frequencies or power RF levels and if used may interfere with other services which could attract penalties from the local administration authorities.