X


More Than 20 Years of Experience

5M Aussies Trust & Use Oricom

Free Delivery for Orders Over $100

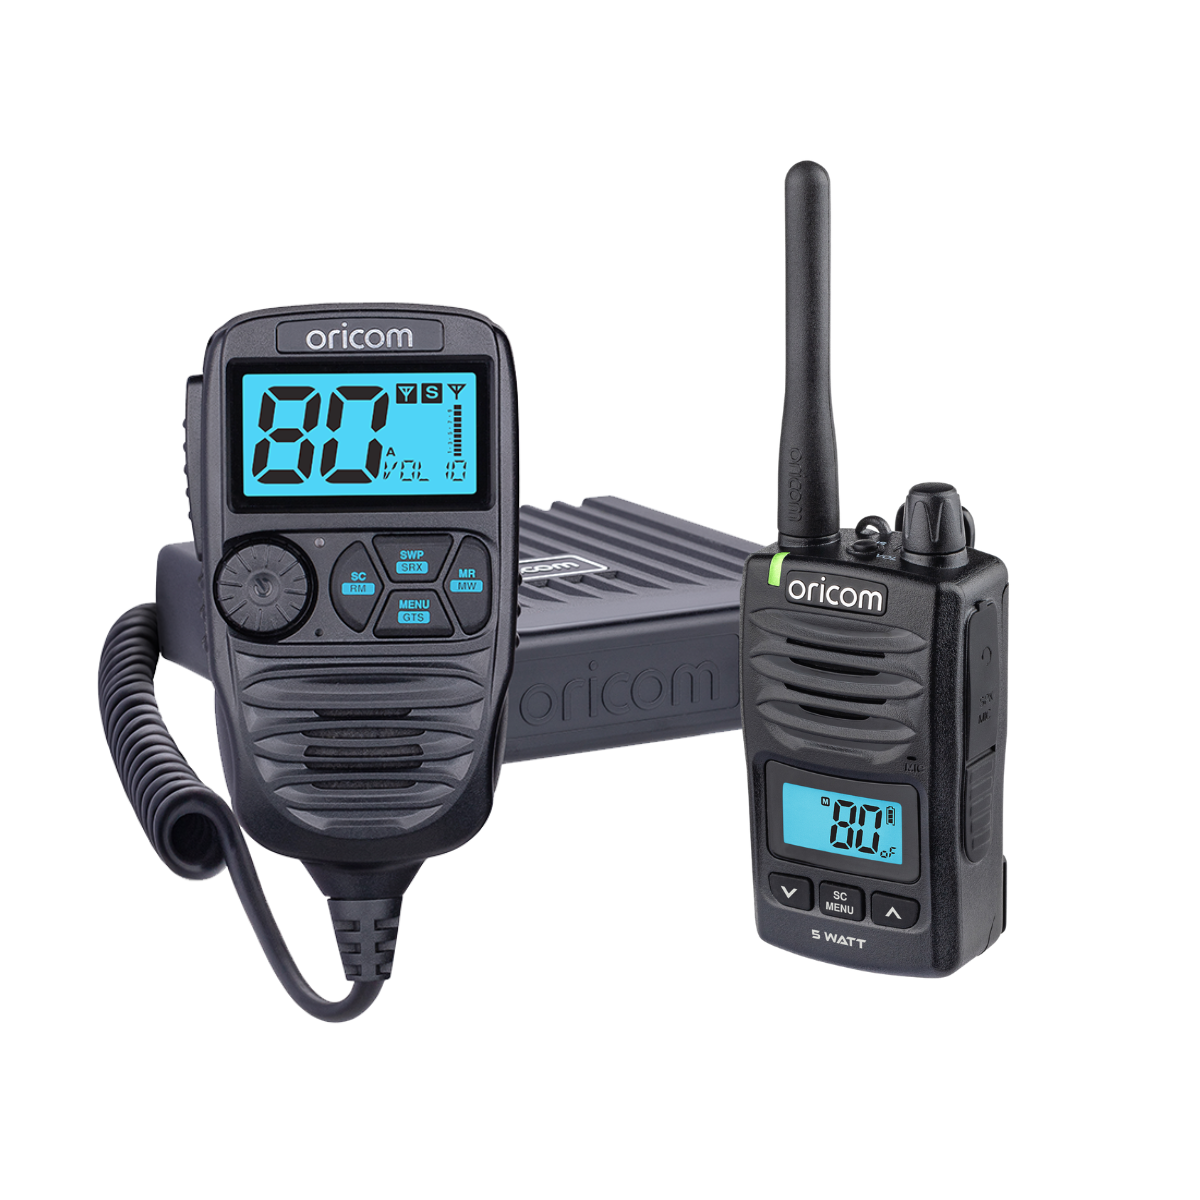
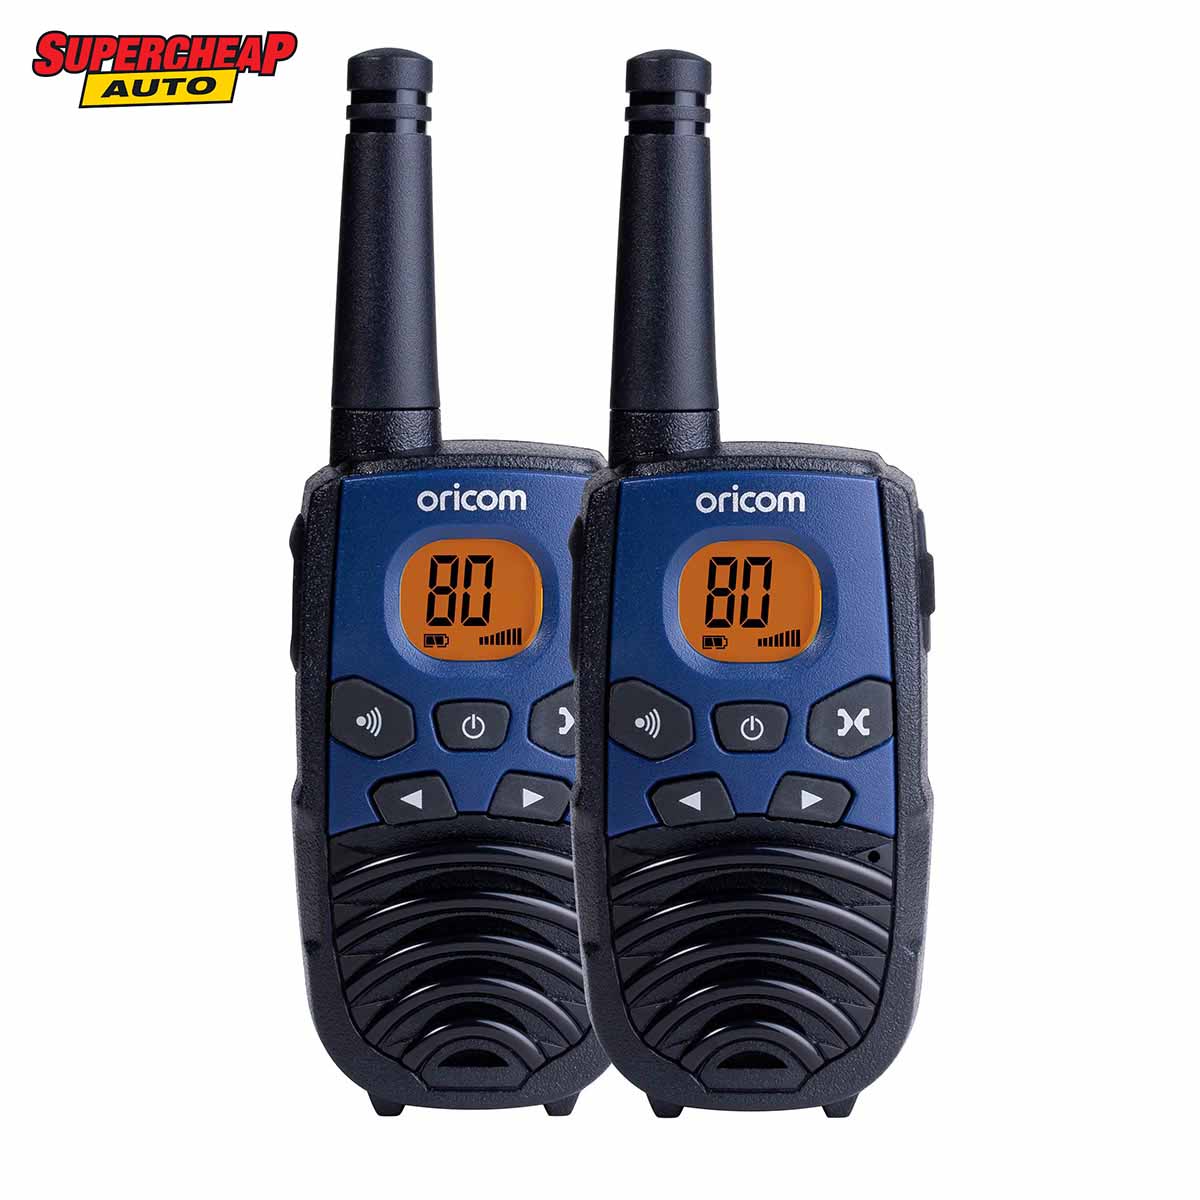
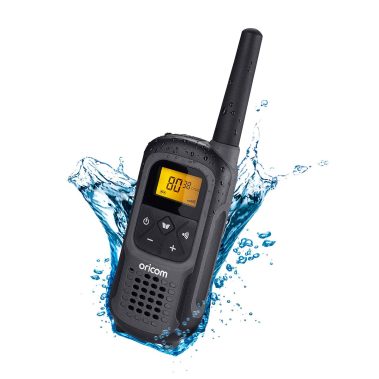
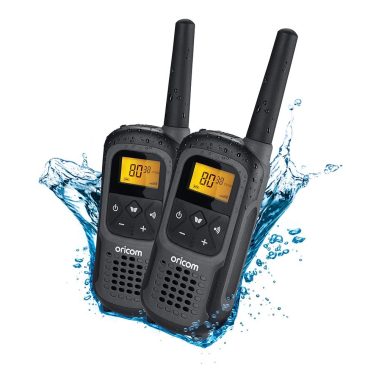
PMR1295 1 Watt Handheld UHF CB Radio

$129.00

Exclusive to Supercheap Auto and BCF The PMR1295 has all the features to make it a sophisticated 2-way radio. These durable hand held UHF CB radios deliver up to 7km range, offer exceptional sound quality making them ideal for all outdoor activities.

Out of stock

Key Features:

  • 1 watt transmit power
  • 80 channels*
  • Up to 7km range
  • FM Radio
  • Backlit display
  • Monitor feature
  • Channel busy indicator
  • Channel scan
  • Automatic squelch control
  • Duplex (Range Extender)
  • Keypad lock
  • Call tone alert
  • Mirco USB jack for charging
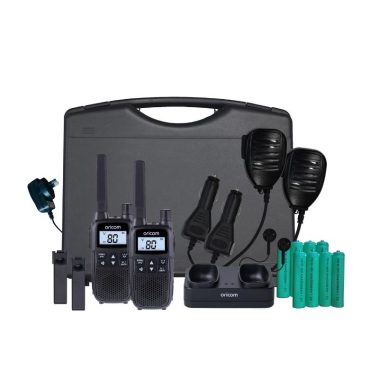
Pack includes:

  • 2 x PMR1295 handsets
  • 2 x Car chargers
  • 2 x USB Cables
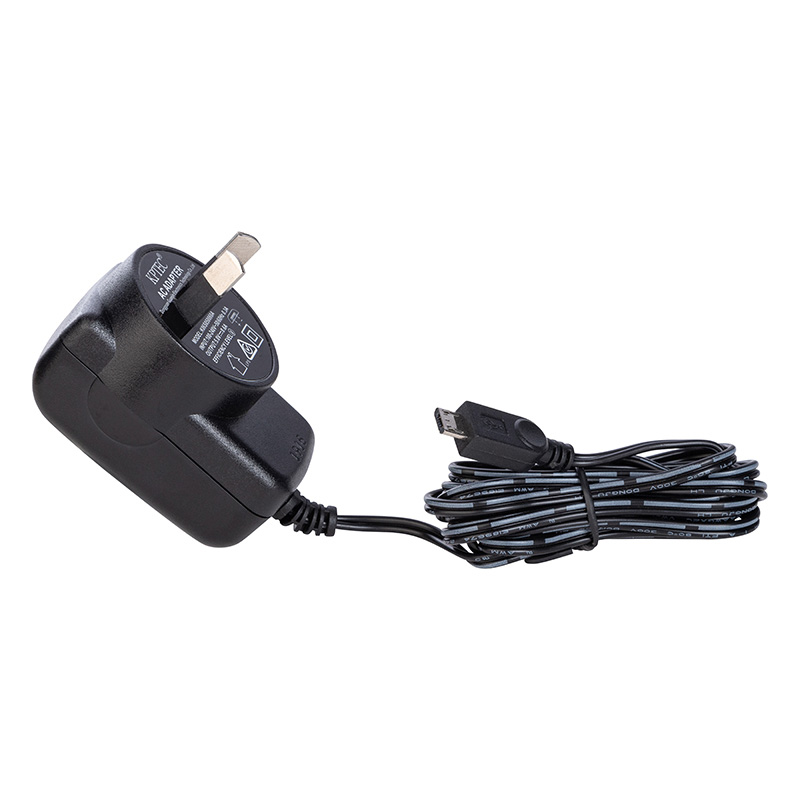
  • 1 x Power adaptor with Y cable
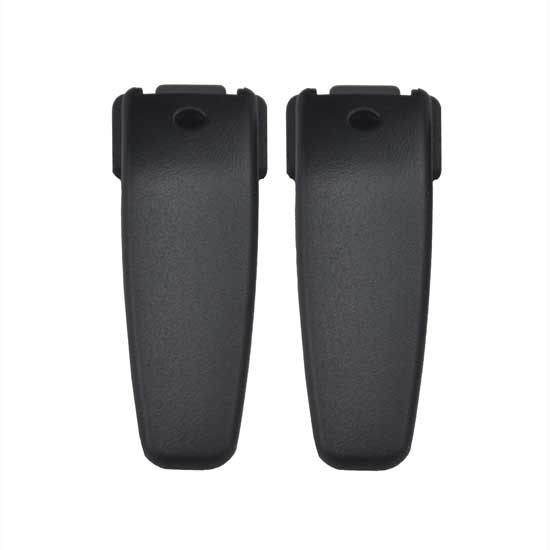
  • 2 x Belt clips
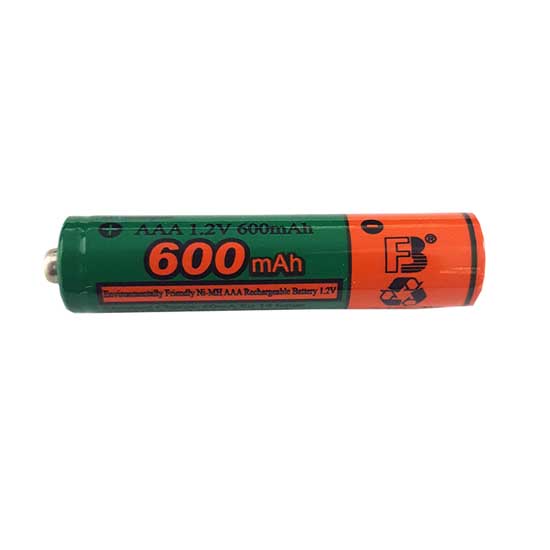
  • Rechargeable batteries
Download Spec Sheet
Download User Guide

Oricom UHF CB Radios

Stay Connected Wherever you go

Oricom is an expert in communication technologies and our drive is to keep people connected on and off the road. Our range of UHF CB radios and accessories are recognised in the market as high-quality products priced for everyday use.

Designed for adventure

Built to Work

Oricom is a 100% Australian owned and operated company, engineering radio communication products specifically for the diverse and unique conditions of Australia and New Zealand. However, it’s not just our products that deliver: we understand the importance of local service and support. Oricom always ensure that you and your needs are taken care of, long after the purchase of your high quality Oricom product.

Related Products

UHFTP2390 2 Watt Handheld UHF CB Radio Trade Pack

$249.00

UHF2500 2 watt Waterproof Handheld UHF CB Radio Single Pack

$99.95

UHF2500 2 watt Waterproof Handheld UHF CB Radio Twin Pack

$199.00

Observe the proper battery polarity orientation when installing batteries. Incorrect positioning can damage both the batteries and the unit.
a. Slide down the Battery Compartment Cover.
b. Install the Rechargeable batteries (supplied) or Alkaline batteries (not supplied) by following the orientation as shown in Figure 3.
c. Replace the Battery Compartment Cover.

1. Insert the small plug in the end of the mains adaptor into the Power-in Connection Jack at the back of the desktop charger.
2. Plug the mains adaptor into a 230V AC, 50Hz mains socket with the switch on the socket set to OFF.
3. Switch ON the mains socket. The radio must be charged using the mains adaptor provided. Using any other adaptor will invalidate any approvals & warranty.
4. Place the radio units in the charge cradle in an upright position and facing outward. The Charge LED indicators will light up.
5. It takes about 10 hours to fully recharge the batteries if the batteries are completely

1. Lift the charge socket cover located on the right side of the handset.
2. Insert the USB connector of the 5VDC/600mA adaptor into the charge jack.
3. Plug the mains adaptor into a 230V AC,50Hz mains socket with the switch on the socket set to Off.
4 Use only the power supply provided.
5. Switch ON the mains socket. The radio must be charged using the mains adaptor provided. Using any other adaptor will invalidate any approvals & warranty.

To Turn ON; a. Press and hold the POWER button until the LCD screen turns ON and displays the current channel. To switch OFF; b. Press and hold the POWER button until the LCD screen turns blank.

The PMR1290 or PMR1295 has 77 available channels, to communicate with other radios, you must have your radio tuned to the same channel.
1. Press the MENU button once, the current channel number flashes on the LCD Screen.
2. Press the UP or DOWN button to select the desired channel. The channel changes from 1 to 80, or vice versa. c. Press the PTT button to confirm the channel setting.

While in standby mode briefly, press and release the power button, FM Frequency will display in the LCD screen. Press UP or DOWN button To adjust the FM frequency channel. Press and release the Power button to go back to PMR frequency mode.

All Oricom products are approved for use in Australia and NZ only, and although they will still work in other countries, they may not meet that countries requirement’s for voltage, operating frequencies or power RF levels and if used may interfere with other services which could attract penalties from the local administration authorities.

There are no video guides for this product at the moment. Please contact us if you have any questions.

How do I install the batteries?

Observe the proper battery polarity orientation when installing batteries. Incorrect positioning can damage both the batteries and the unit.
a. Slide down the Battery Compartment Cover.
b. Install the Rechargeable batteries (supplied) or Alkaline batteries (not supplied) by following the orientation as shown in Figure 3.
c. Replace the Battery Compartment Cover.

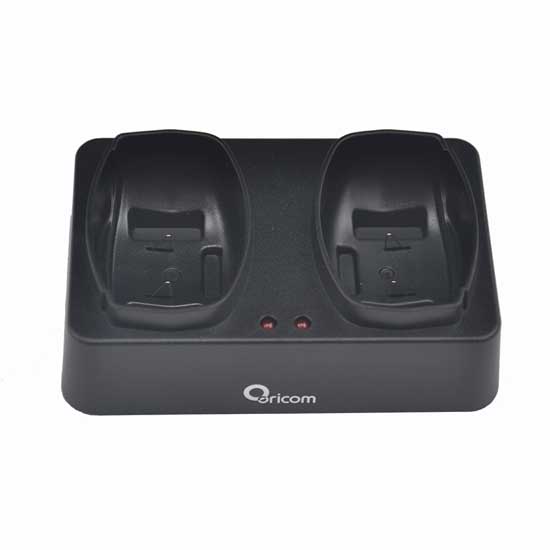
How do I charge the batteries using the charging pod?

1. Insert the small plug in the end of the mains adaptor into the Power-in Connection Jack at the back of the desktop charger.
2. Plug the mains adaptor into a 230V AC, 50Hz mains socket with the switch on the socket set to OFF.
3. Switch ON the mains socket. The radio must be charged using the mains adaptor provided. Using any other adaptor will invalidate any approvals & warranty.
4. Place the radio units in the charge cradle in an upright position and facing outward. The Charge LED indicators will light up.
5. It takes about 10 hours to fully recharge the batteries if the batteries are completely

How do I charge the batteries using the USB adaptor?

1. Lift the charge socket cover located on the right side of the handset.
2. Insert the USB connector of the 5VDC/600mA adaptor into the charge jack.
3. Plug the mains adaptor into a 230V AC,50Hz mains socket with the switch on the socket set to Off.
4 Use only the power supply provided.
5. Switch ON the mains socket. The radio must be charged using the mains adaptor provided. Using any other adaptor will invalidate any approvals & warranty.

How do I switch the radio on?

To Turn ON; a. Press and hold the POWER button until the LCD screen turns ON and displays the current channel. To switch OFF; b. Press and hold the POWER button until the LCD screen turns blank.

How do I change the channel on the radio?

The PMR1290 or PMR1295 has 77 available channels, to communicate with other radios, you must have your radio tuned to the same channel.
1. Press the MENU button once, the current channel number flashes on the LCD Screen.
2. Press the UP or DOWN button to select the desired channel. The channel changes from 1 to 80, or vice versa. c. Press the PTT button to confirm the channel setting.

How do I activate the FM Radio?

While in standby mode briefly, press and release the power button, FM Frequency will display in the LCD screen. Press UP or DOWN button To adjust the FM frequency channel. Press and release the Power button to go back to PMR frequency mode.

Is this radio suitable for use outside of Australia?

All Oricom products are approved for use in Australia and NZ only, and although they will still work in other countries, they may not meet that countries requirement’s for voltage, operating frequencies or power RF levels and if used may interfere with other services which could attract penalties from the local administration authorities.

The toggles are working. Please, note, that you have to add a template to the library in order to be able to display it inside the toggles.

Proudly Protecting our Environment

We are proud to be a signatory of the Australian Packaging Covenant, a unique initiative between government, industry and community, set up to divert packaging waste from landfill.

Need Support?

Find the answers to your questions here

Oricom VIP Club

Join the Oricom Family and receive 10% off your first order*

*Excludes Promotional Items