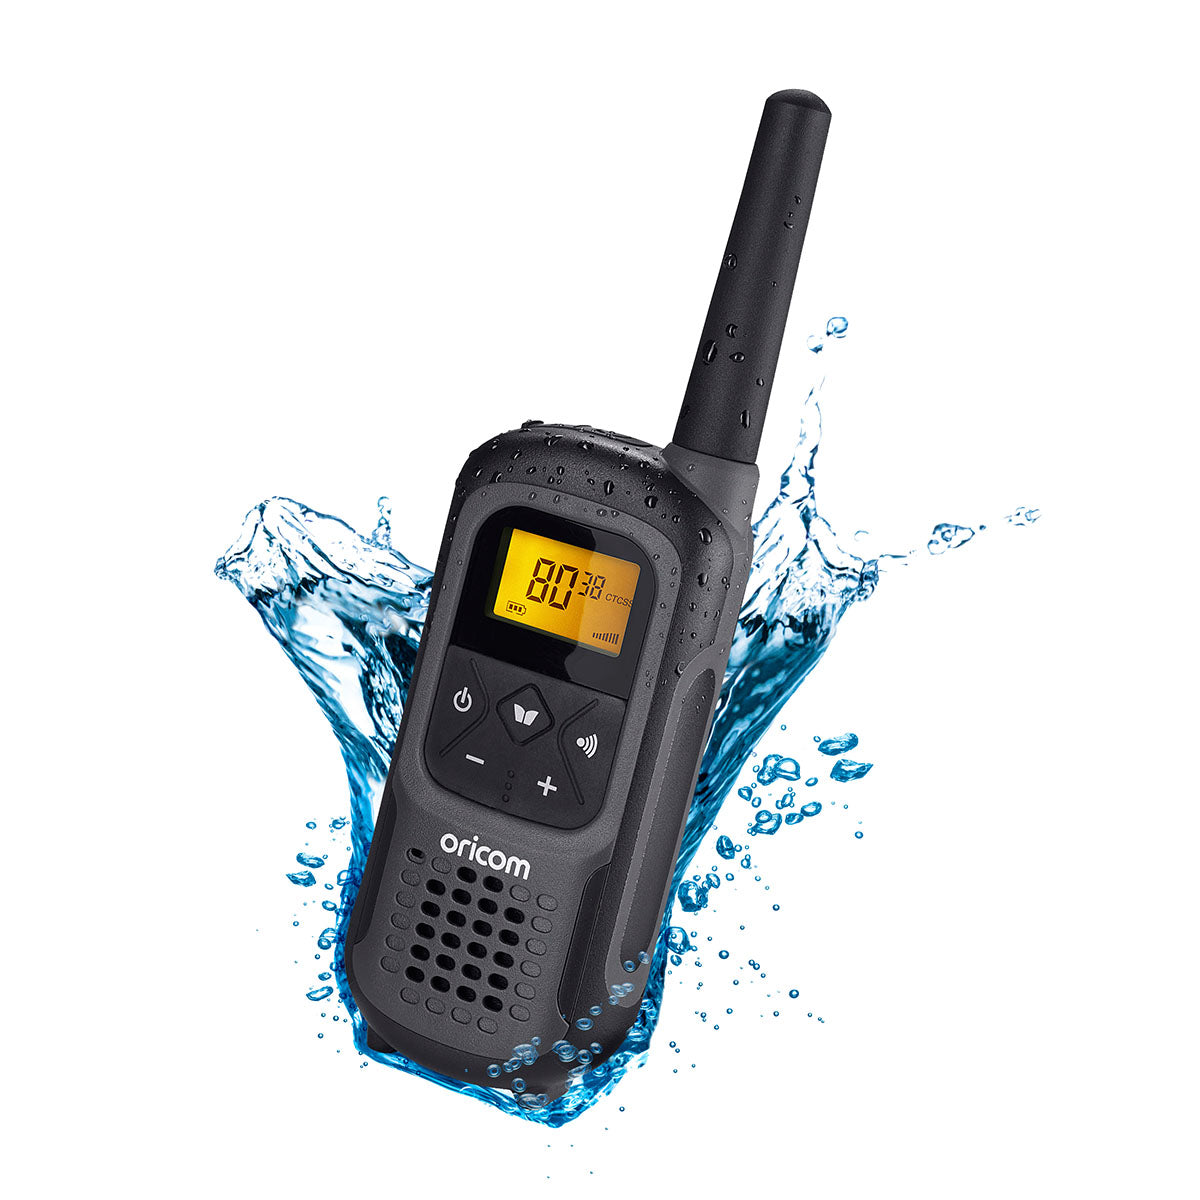
X


More Than 20 Years of Experience

5M Aussies Trust & Use Oricom

Proven Track Record of Quality

UHF2500 2 watt Waterproof Handheld UHF CB Radio Single Pack


$99.95

Rated waterproof to IPX7 and including a float and flash feature, this handheld radio is perfect for everyday use, wherever you might find yourself on the land, or by the water. The UHF2500 is light and portable and gives you the peace of mind that should it be dropped in the water or mud, the radio will remain functional for ongoing and long-lasting use.
Oricom’s 2 Watt UHF CB Radios are listed with RANGE OF UP TO 10KM, however range can vary due to topographical and atmospheric conditions.

200 in stock

People Also Bought These Products

YEAR WARRANTY

FLOAT AND FLASH

RUGGED AND RELIABLE

  • 2 watt transmit power
  • Waterproof rating IPX7
  • 80 Channels
  • Floats & flashes in water
  • Backlit display
  • Monitor feature
  • Channel busy indicator
  • Channel scan
  • Automatic squelch control
  • 38 CTCSS and 83 DCS sub codes
  • Duplex (range extender)
  • Keypad lock
  • VOX capable
  • CTCSS and DCS scan function
  • Dual watch
  • Last channel memory
  • Roger beep
  • Micro USB jack for charging
  • 2.5mm jack for optional accessories
  • 3 year warranty excludes battery


Pack Contains:

  • 1 x UHF CB Radio
  • 1 x AC adaptor
  • 1 x USB cable for charging
  • 3 x Rechargeable batteries
  • 1 x Belt clips
  • 1 x Oricom Carabiners
Download Spec Sheet
Download User Guide

Oricom UHF CB Radios

Stay Connected Wherever you go

Oricom is an expert in communication technologies and our drive is to keep people connected on and off the road. Our range of UHF CB radios and accessories are recognised in the market as high-quality products priced for everyday use.

Designed for adventure

Built to Work

Oricom is a 100% Australian owned and operated company, engineering radio communication products specifically for the diverse and unique conditions of Australia and New Zealand. However, it’s not just our products that deliver: we understand the importance of local service and support. Oricom always ensure that you and your needs are taken care of, long after the purchase of your high quality Oricom product.

Related Products

BC200 20amp Battery Charger and Maintainer

$179.00

JSP1200 IP66 Lithium Jump Starter + Power Bank

$249.00

TPS10-4E Real Time Tyre Pressure Monitoring System Including 4 External Sensors

$229.00

a. Unlock two screws.
b. Install the rechargeable batteries (supplied) by following the orientation as shown in Figure 3 of the user guide.
c. Replace the Battery Compartment Cover. Tighten the screws see Figure 4.
NOTE: You can use Alkaline batteries if required, however YOU MUST NOT PLACE THE RADIOS ON THE CHARGER WITH ALKALINE BATTERIES INSERTED as this will damage the radio.

a. Connect the supplied USB “Y” cable to the AC power adaptor then connect one of the mini USB connectors to the charge pod, place the radios in the charge pod as indicated. DO NOT use the second mini USB connector for any other application.
b. If the charge Pod is not available then the 2 mini USB connectors can be fitted to the mini USB connectors found under the protective cover on the top of the UHF2500 radios.
c. Plug AC adaptor in to an AC wall socket and turn on, the LEDs on the charge pod will turn on and the battery Icon on the radio display will start flashing to indicate that the radios are charging. The batteries can take more than 12 hours to fully charge.

Your radio has a built in power saver to make the batteries last longer. But when you are not using the units, turn them OFF to conserve battery power.

The talk range depends on the environment and terrain. In general, the radio can reach further in wide open spaces, without obstructions such as hills or buildings. It will be affected by concrete structures, heavy foliage and by operating radios indoors or in vehicles. Don’t try to use two radio units which are less than 1.5m (5 feet) apart. Otherwise, you may experience interference.

To Turn ON;
a. Press & hold ON/OFF button for 2 seconds until the LCD screen turns ON and displays the current channel.
To switch OFF;
b. Press & hold ON/OFF button for 2 seconds until the LCD screen turns blank.

The radio has 77 available channels, to communicate with other radios, it must be tuned to the same channel.
a. Press the MENU button once, the current channel number flashes on the LCD Screen.
b. Press the + or – button to select the desired channel. The channel changes from 1 to 80, or vice versa.
c. Press the PTT button to confirm the channel setting. Channels 1 to 8 and 41 to 48 are used for repeaters and are paired with higher channels as output/input (1/31, 2/32, etc.) Check for local repeater activity before using these channels in Simplex mode to avoid interference. Channels 9 and above are the best choices for general use in Simplex mode. You can find more information about channels and frequencies by
visiting the Web site http://www.acma.gov.au
Note: Refer to the “Channel Table” section of this Owner’s Manual for detailed frequency listing.
Push Menu button 2 times to select RPT. Use + or – buttons to turn on/off.
This can only be turned on, on channels 1 to 8 and 41 to 48. On all others, it will always be off.

All Oricom products are approved for use in Australia and NZ only, and although they will still work in other countries, they may not meet that countries requirement’s for voltage, operating frequencies or power RF levels and if used may interfere with other services which could attract penalties from the local administration authorities.

How do I install the batteries?

a. Unlock two screws.
b. Install the rechargeable batteries (supplied) by following the orientation as shown in Figure 3 of the user guide.
c. Replace the Battery Compartment Cover. Tighten the screws see Figure 4.
NOTE: You can use Alkaline batteries if required, however YOU MUST NOT PLACE THE RADIOS ON THE CHARGER WITH ALKALINE BATTERIES INSERTED as this will damage the radio.

How do I charge the batteries?

a. Connect the supplied USB “Y” cable to the AC power adaptor then connect one of the mini USB connectors to the charge pod, place the radios in the charge pod as indicated. DO NOT use the second mini USB connector for any other application.
b. If the charge Pod is not available then the 2 mini USB connectors can be fitted to the mini USB connectors found under the protective cover on the top of the UHF2500 radios.
c. Plug AC adaptor in to an AC wall socket and turn on, the LEDs on the charge pod will turn on and the battery Icon on the radio display will start flashing to indicate that the radios are charging. The batteries can take more than 12 hours to fully charge.

Is there a way to conserve battery life?

Your radio has a built in power saver to make the batteries last longer. But when you are not using the units, turn them OFF to conserve battery power.

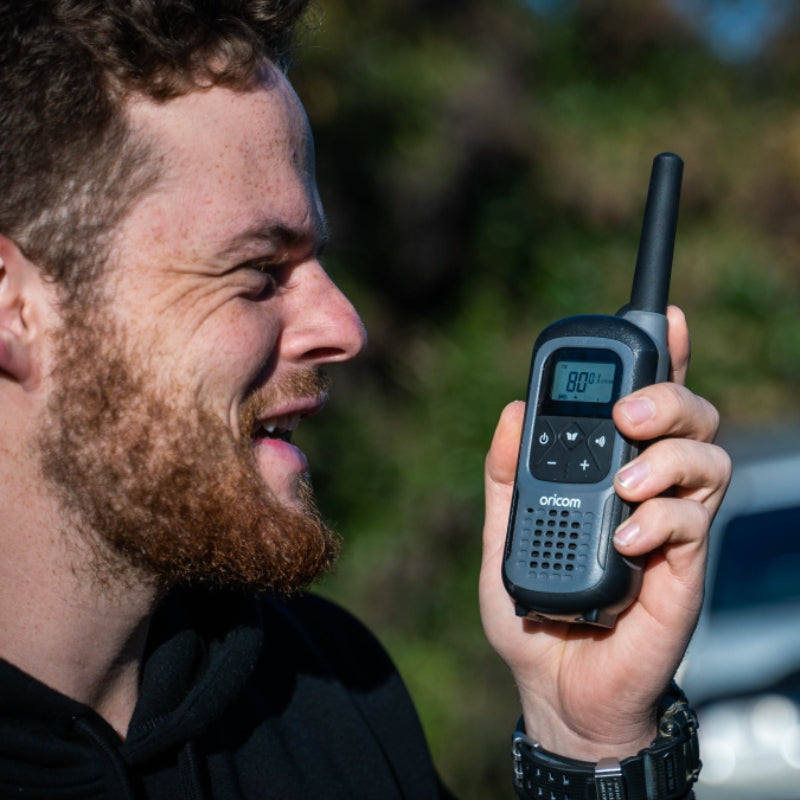
What is the transmitting range of this radio?

The talk range depends on the environment and terrain. In general, the radio can reach further in wide open spaces, without obstructions such as hills or buildings. It will be affected by concrete structures, heavy foliage and by operating radios indoors or in vehicles. Don’t try to use two radio units which are less than 1.5m (5 feet) apart. Otherwise, you may experience interference.

How do I turn this radio on?

To Turn ON;
a. Press & hold ON/OFF button for 2 seconds until the LCD screen turns ON and displays the current channel.
To switch OFF;
b. Press & hold ON/OFF button for 2 seconds until the LCD screen turns blank.

How do I change the channels on this unit?

The radio has 77 available channels, to communicate with other radios, it must be tuned to the same channel.
a. Press the MENU button once, the current channel number flashes on the LCD Screen.
b. Press the + or – button to select the desired channel. The channel changes from 1 to 80, or vice versa.
c. Press the PTT button to confirm the channel setting. Channels 1 to 8 and 41 to 48 are used for repeaters and are paired with higher channels as output/input (1/31, 2/32, etc.) Check for local repeater activity before using these channels in Simplex mode to avoid interference. Channels 9 and above are the best choices for general use in Simplex mode. You can find more information about channels and frequencies by
visiting the Web site http://www.acma.gov.au
Note: Refer to the “Channel Table” section of this Owner’s Manual for detailed frequency listing.
Push Menu button 2 times to select RPT. Use + or – buttons to turn on/off.
This can only be turned on, on channels 1 to 8 and 41 to 48. On all others, it will always be off.

Is this radio suitable for use outside of Australia?

All Oricom products are approved for use in Australia and NZ only, and although they will still work in other countries, they may not meet that countries requirement’s for voltage, operating frequencies or power RF levels and if used may interfere with other services which could attract penalties from the local administration authorities.

Proudly Protecting our Environment

We are proud to be a signatory of the Australian Packaging Covenant, a unique initiative between government, industry and community, set up to divert packaging waste from landfill.

Hear from our amazing customers!

Need Support?

Find the answers to your questions here

Oricom VIP Club

Join the Oricom Family and receive 10% off your first order*

*Excludes Promotional Items

Oricom-VIP-Program

Join the Oricom Family and receive

10% OFF YOUR FIRST ORDER*

*Excludes Promotional Products