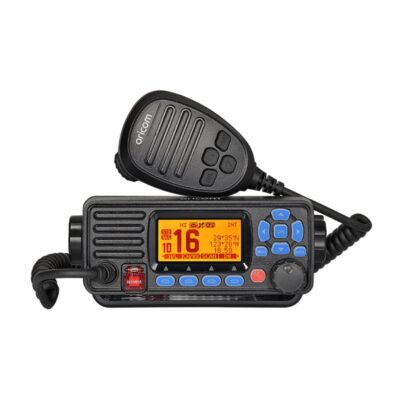
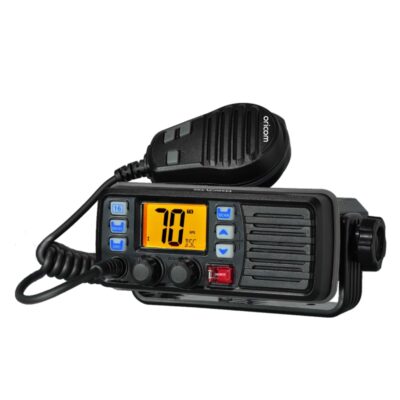
MX500 5 Watt VHF Marine Radio
$199.00
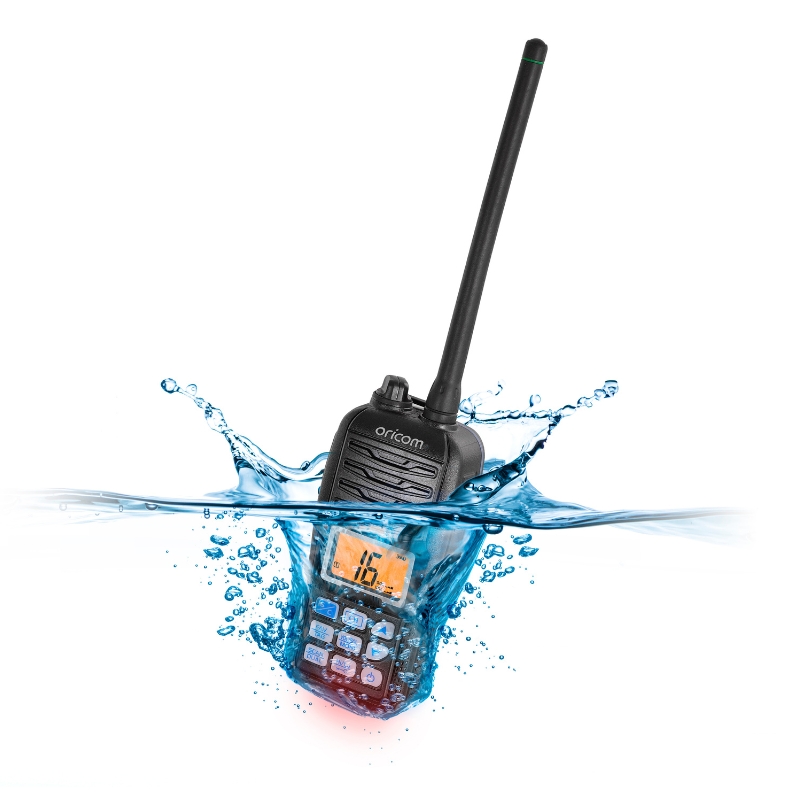
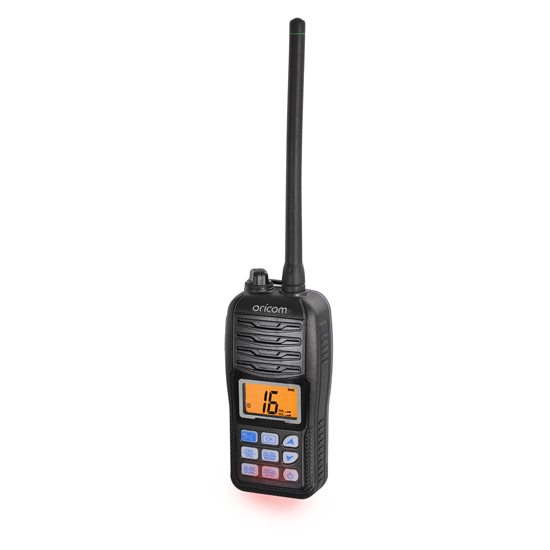
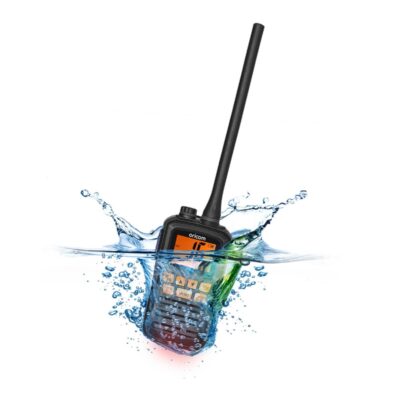
An essential part of your safety kit the MX500 is a high performance radio, built tough to withstand the harshest marine environments. It is waterproof to IP67† if dropped overboard. It will not only float, but the radio will flash ensuring easy retrieval.
†AC Adaptor is not waterproof
53 in stock
Where to buy- IP67 waterproof† (1 meter depth for 30 minutes)
- Float and flash
- Vibration water draining function
- Dual/tri-watch
- 5/1 watt switchable
- Large backlit display
- Programmable and priority scan
- Keypad lock
- Battery indicator
- Operating time up to 8hrs
- All international, US and Canadian Marine VHF channel frequencies
- 2 Year warranty excludes battery


Q. After exposure to saltwater, how should I care for my radio?
A. Clean the transceiver thoroughly with fresh water after exposure to saltwater, and dry it before operating. Otherwise, the transceivers key, switches and controllers may become unusable due to salt water crystallisation.
Note: Do Not submerge the transceiver in water if there is any reason to suspect the waterproof protection may not be effective. For example, in cases where the battery cover or DC Jack cap rubber seal is damaged, the transceiver/battery cover/DC jack is cracked or broken, or if the transceiver has been dropped, or when the battery cover, antenna or DC Jack Cap are detached from the transceiver.
Q. How does the float and flash work?
A. An LED sends out intermittent light from a transparent section on the bottom of the radios, while floating in the water.
Q. How do I charge the battery pack?
A. 1. Connect the adaptor to AC power.
2. Rotate the connector cap on the top of the transceiver to expose the charging socket.
3. Plug the AC Adaptor plug into the socket on the top of the transceiver. LCD will indicate charging in progress.
4. If battery charging is full, LCD appears “FL”, you should remove the adaptor. NOTE: If you have not inserted the battery pack, the LCD will show “Er”.
5. When charging is complete, remove the plug from the radio and replace the cover ensuring it is fitted correctly.
Q. How do you insert the battery pack?
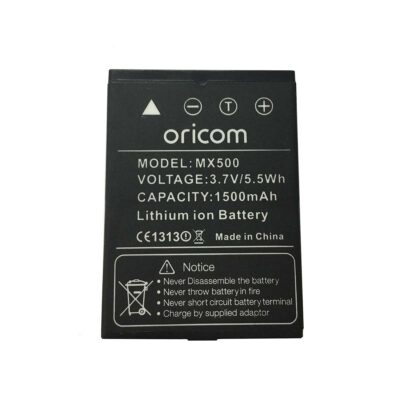
A. Place the battery into the transceiver so it fits flat, and then securely attach the battery cover. Push the cover until the latch returns to the locked position. See images in the User Guide downloadable on the User Guide tab of this site.
Q. How do I turn the radio on?
A. Hold the power button for 1 second to turn the radio on or off.
Q. How do I adjust the volume level?
A. The volume level can be adjusted using the VOL/SQL button and the up and down arrows.
Push VOL/SQL once to enter the volume adjustment mode. Then press the up and down button to adjust the volume.
• The volume icon will start blinking
• The transceiver has 31 volume levels and OFF.
• When no key operation is performed for 5 seconds, then transceiver returns to normal mode.
Push VOL/SQL twice to exit the volume adjustment mode.
Q. The transceiver will not turn on?
A. Recharge the battery pack as the battery could be exhausted. Also check if the battery has been inserted correctly.
Q. Why am I not getting any sound from the speaker?
A. Set the squelch level to the threshold level or adjust the audio using the instructions above, to a suitable level.
Q. Why can I not change from the displayed channel?
A. The Lock function is activated. Hold down the “KEY” (Hi/Lo) button for 1 second to turn off the function.
You might also like these...
Based on what you are viewing these items might also be of interest.


 Baby Care
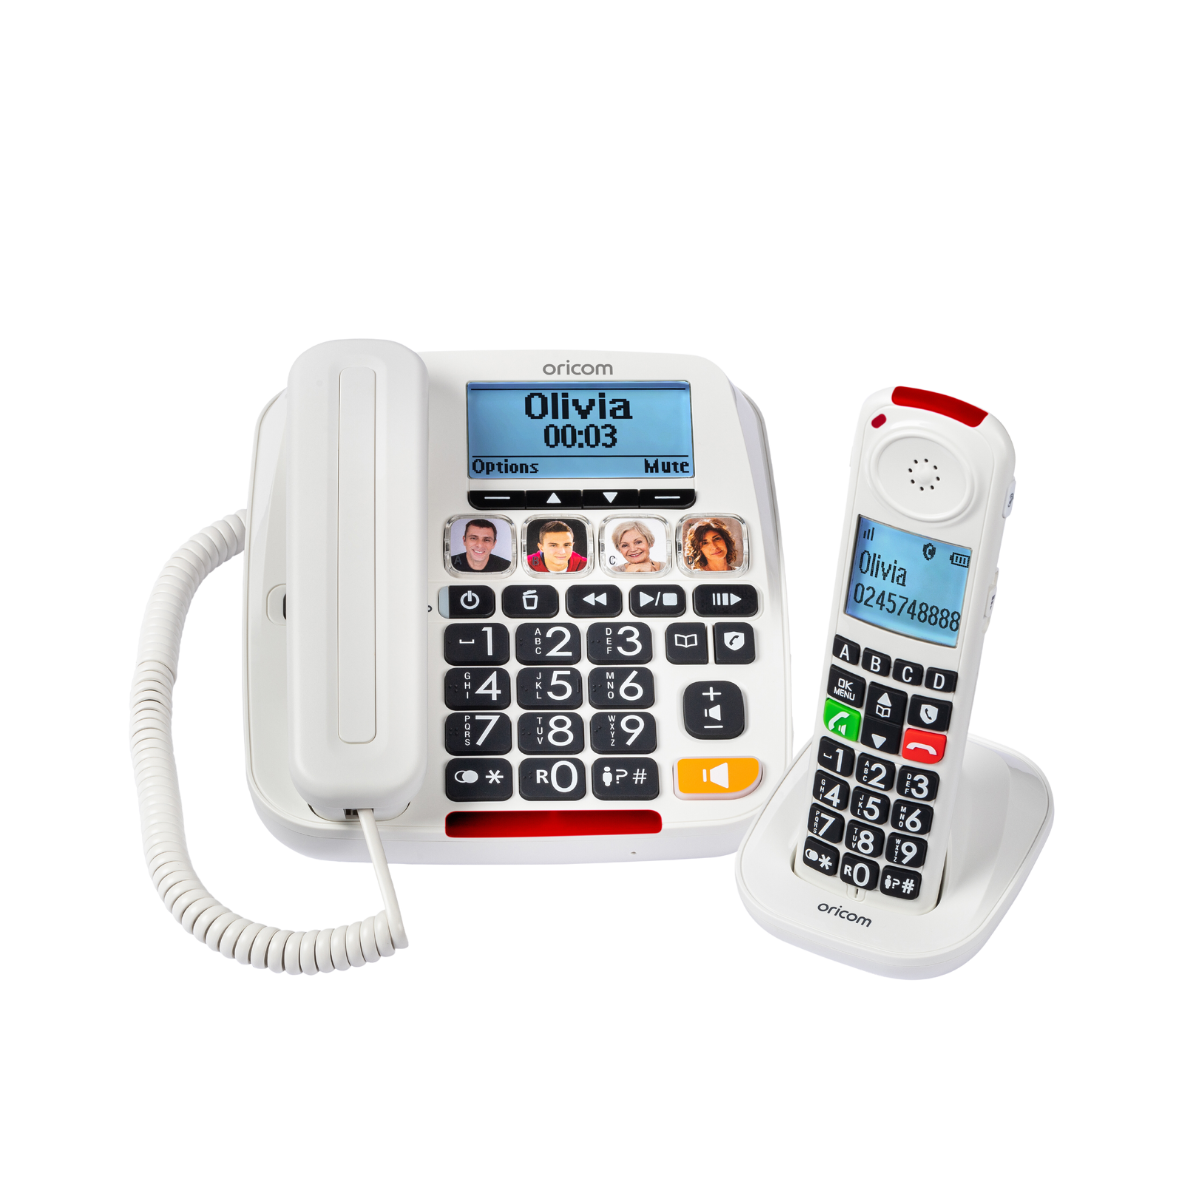 Senior Care
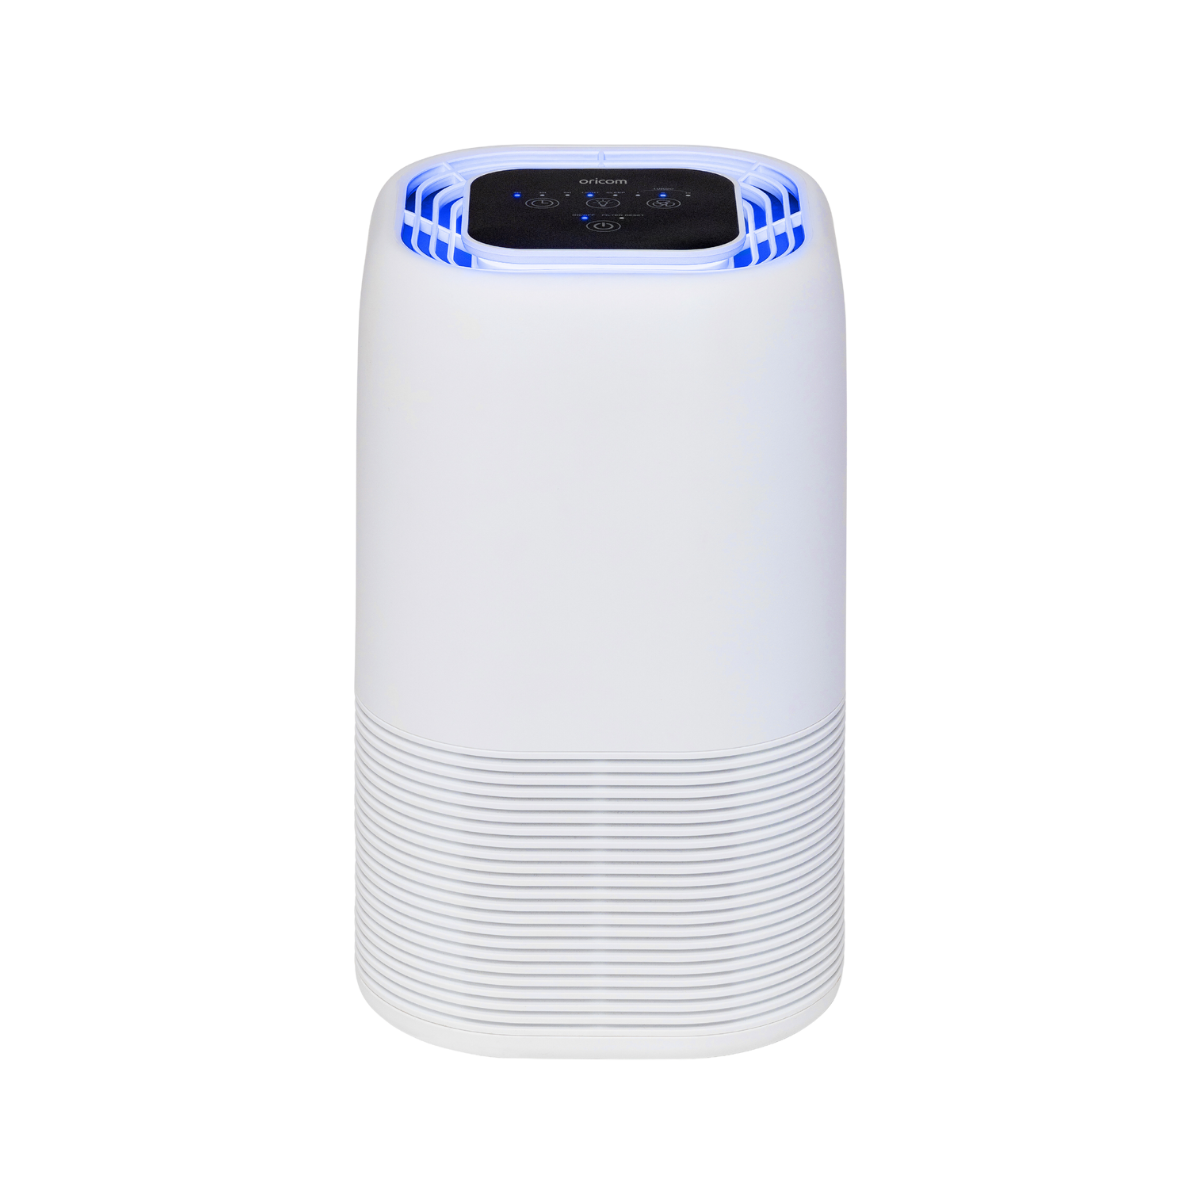 Air Purifiers
 UHF CB Radios
 Tyre Pressure Monitors
 Automotive Products
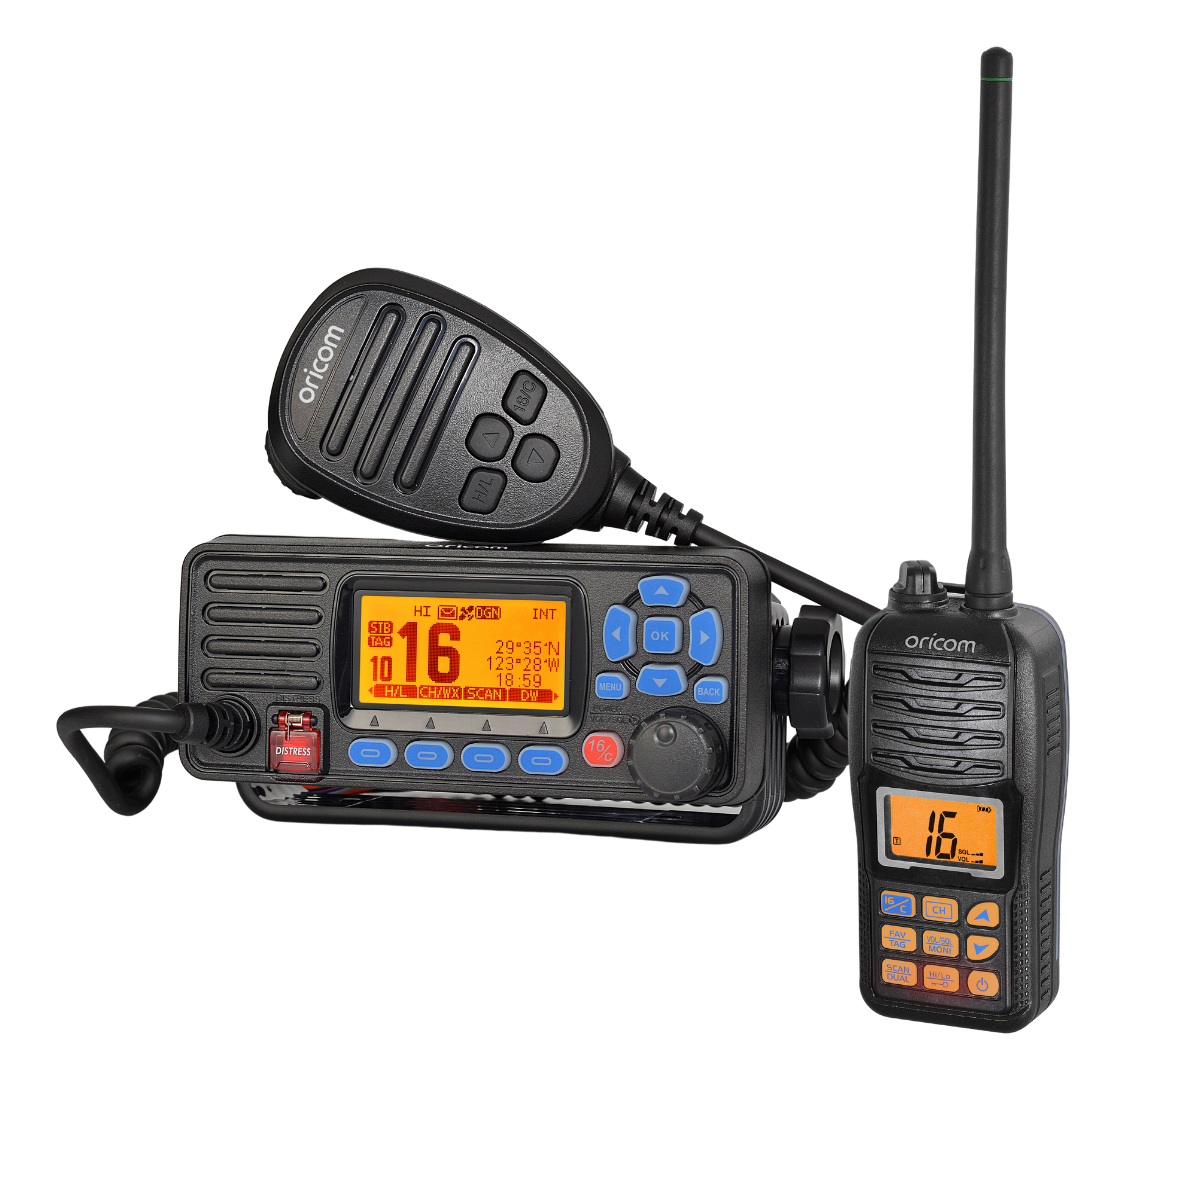 Marine VHF Radios