X


More Than 20 Years of Experience

5M Aussies Trust & Use Oricom

Free Delivery for Orders Over $100

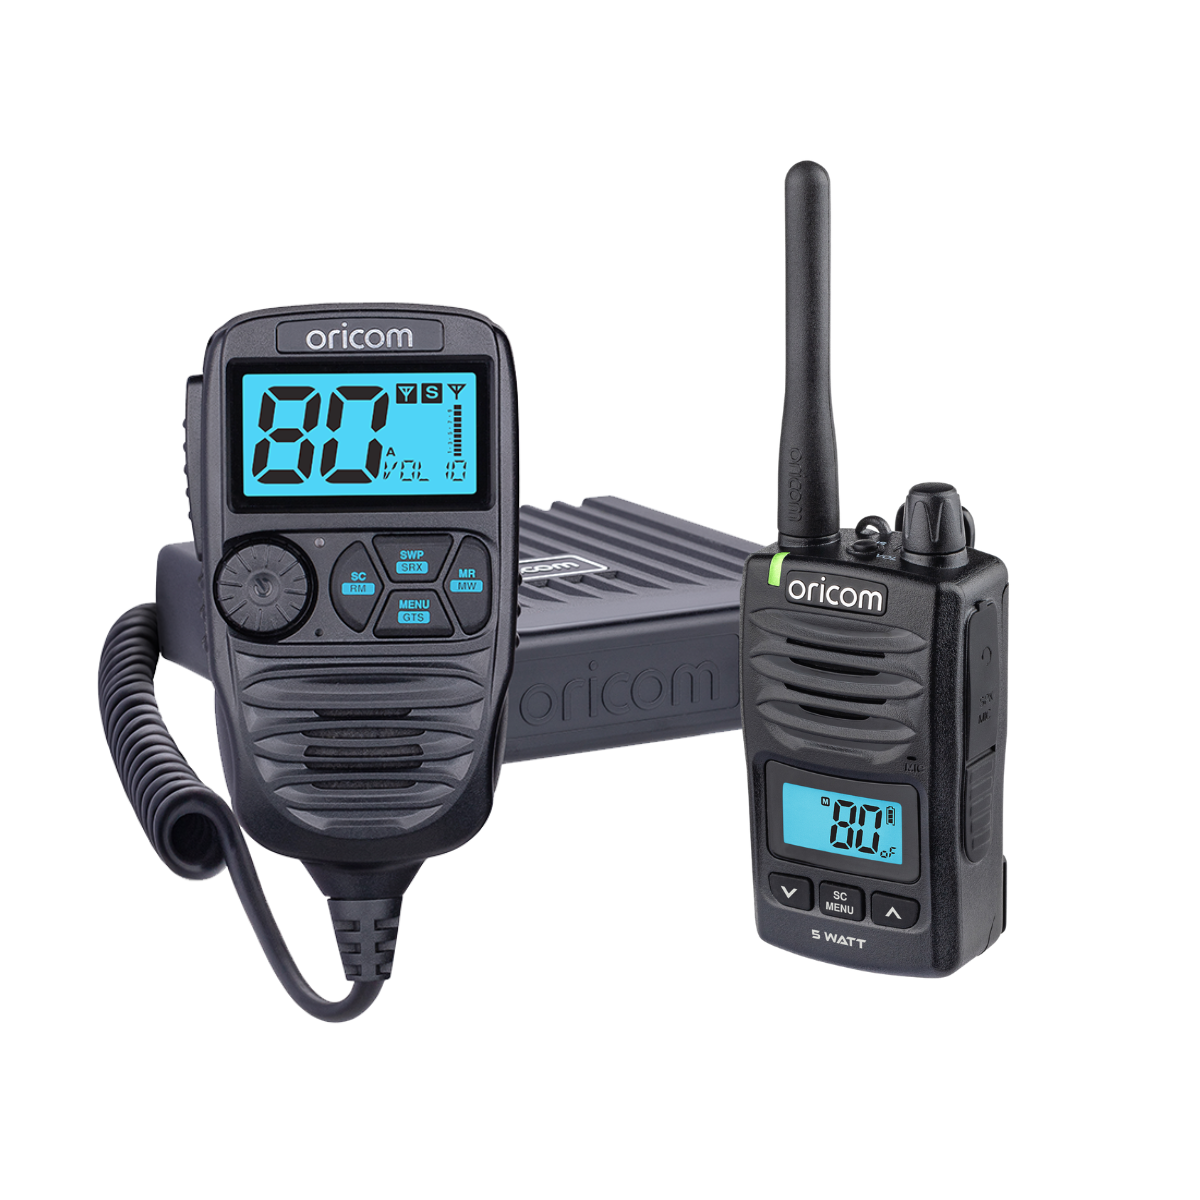
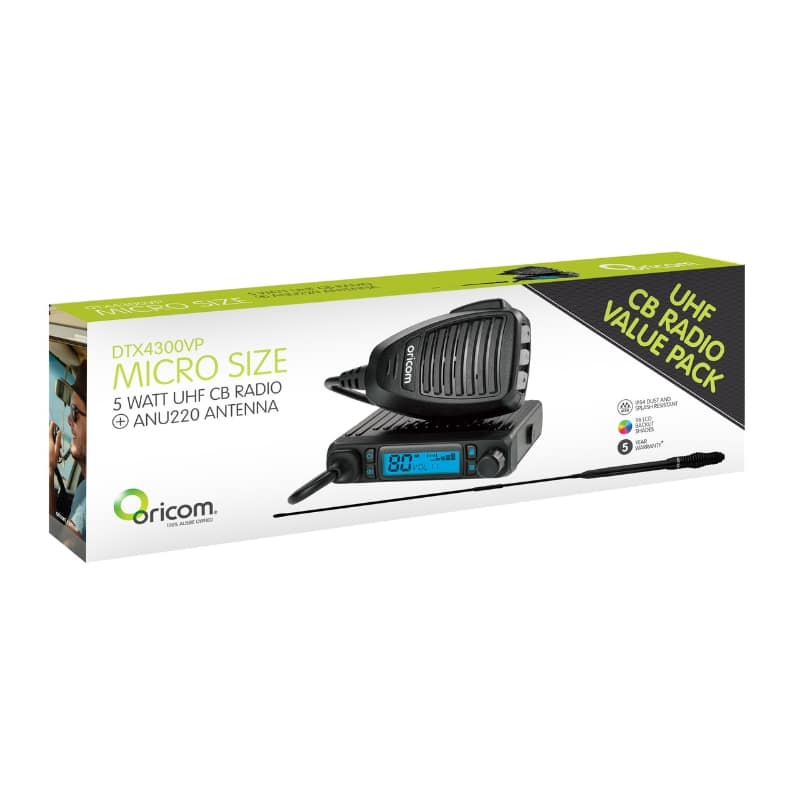
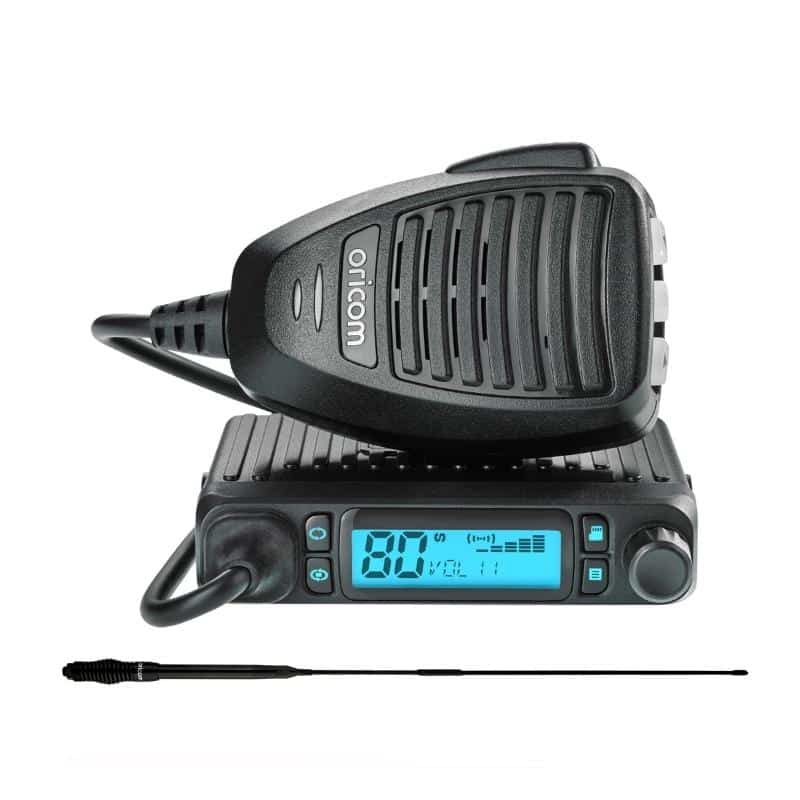
Value Pack- DTX4300 IP54 UHF CB Radio + ANU220 Antenna


$299.00

Free Delivery Australia Wide

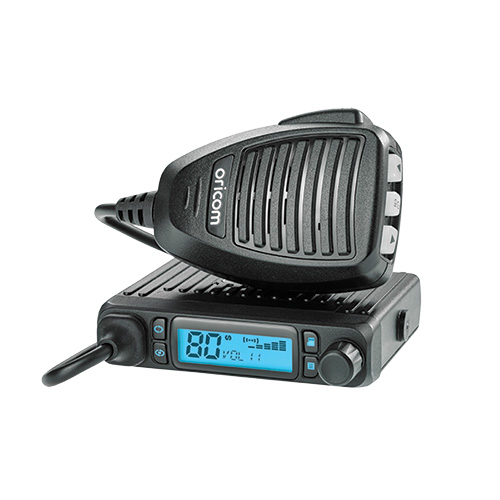
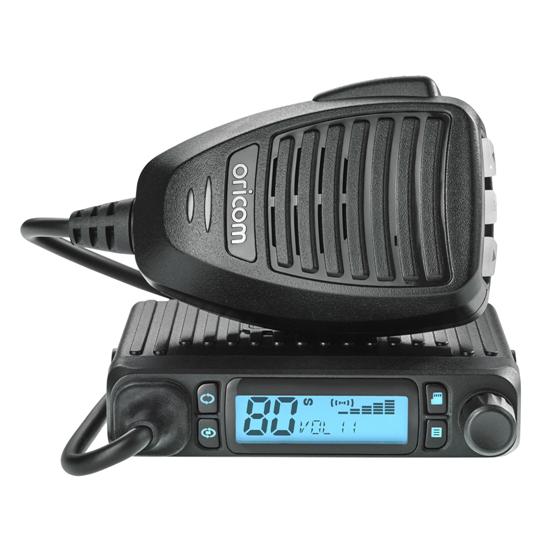
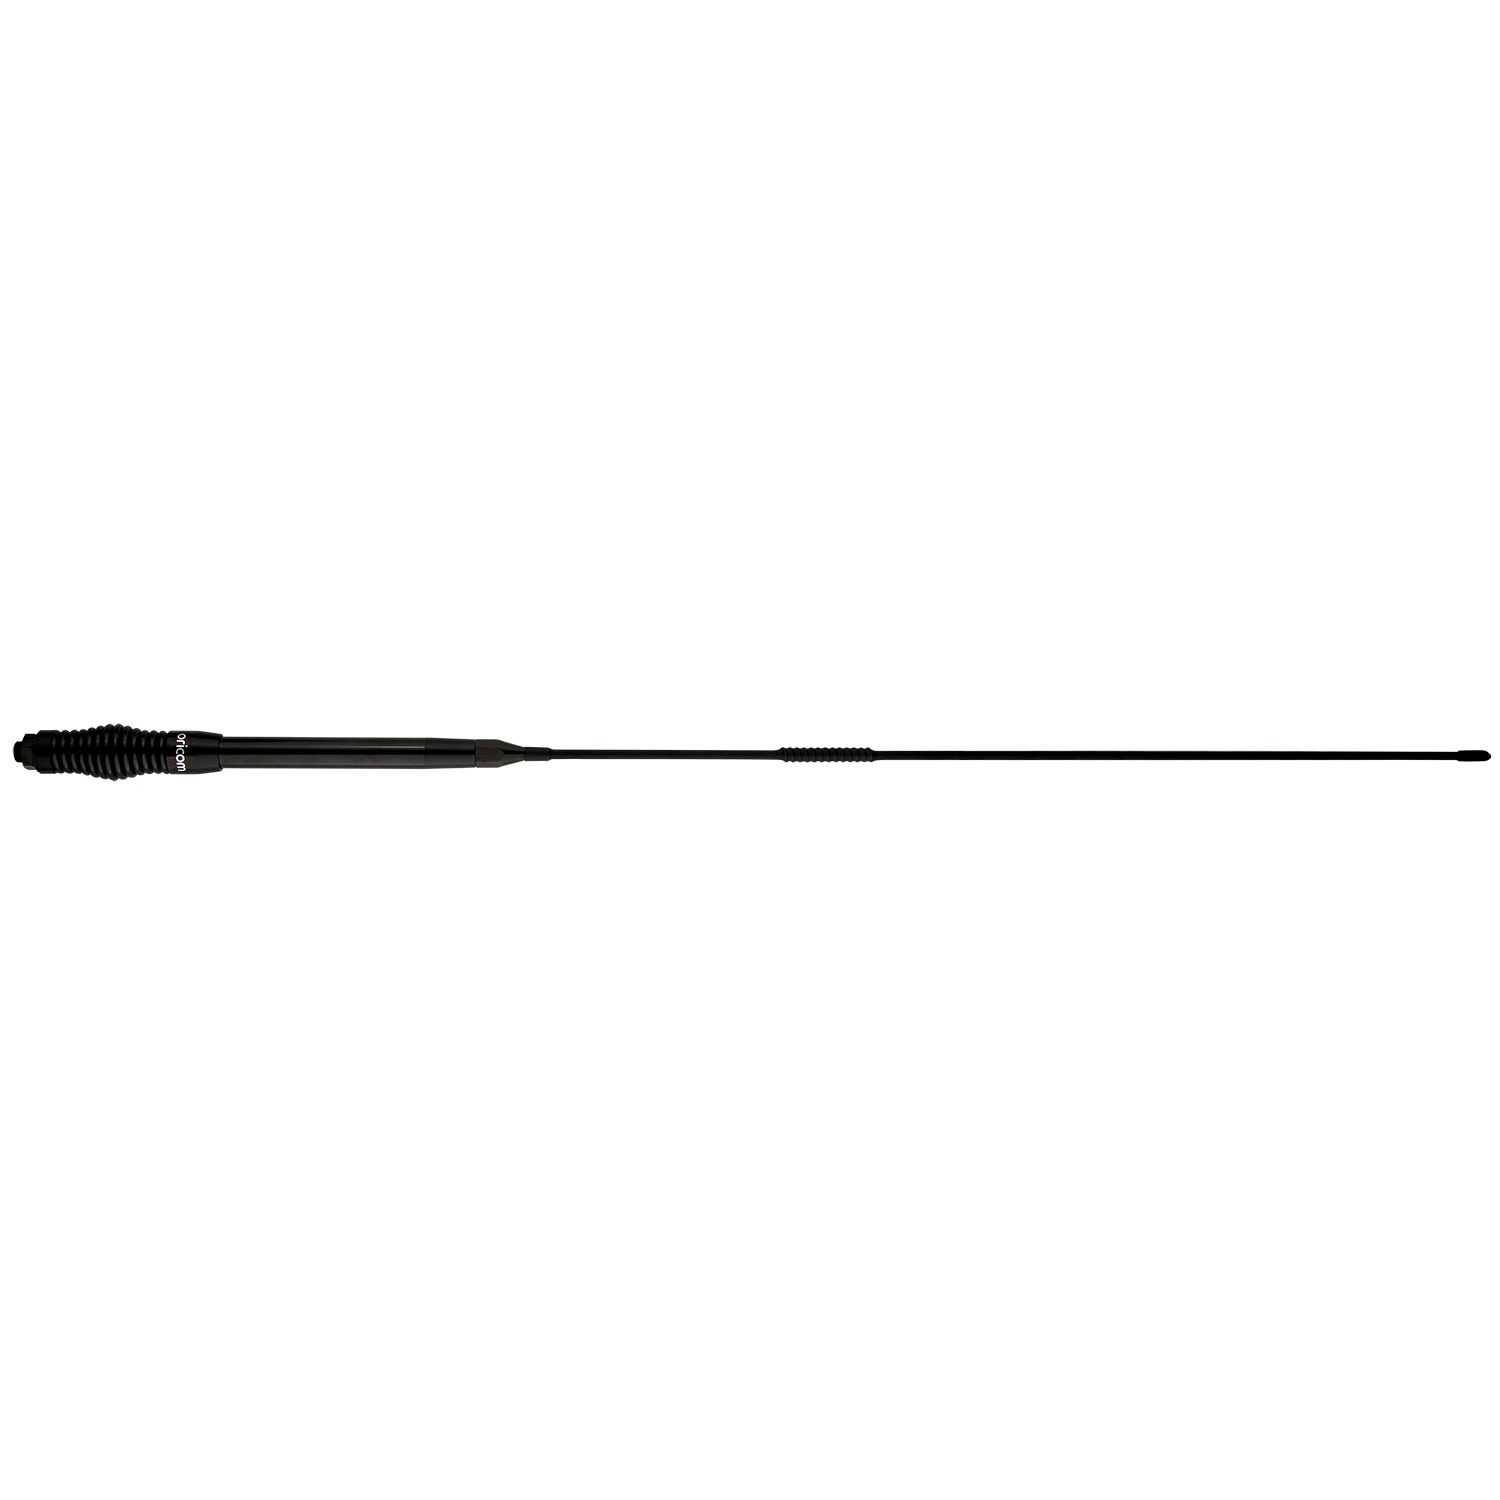
The DTX Series of UHF CB Radios are the first and best of their breed and have become an essential communication tool for on and off the road. The Oricom DTX4300 Micro Size 5-Watt UHF CB radio is a well-crafted unit, packing a real punch for its ultra-compact size, and is one of the smallest fixed mount UHF CB radios on the Australian market. This pack includes the DTX4300 5 Watt UHF CB Radio and the all rounder ANU220 6.5dBi UHF CB Antenna.  

200 in stock

People Also Bought These Products

96 LCD SHADES

YEAR WARRANTY

RUGGED AND RELIABLE

DTX4300 Key Features:

  • Ultra compact micro size
  • 96 colour LCD backlit display
  • Flip LCD function
  • Over voltage alert function
  • Heavy duty microphone
  • 3 memory groups
  • Smart fast scanning (priority/
  • group memory/ group tone scan)
  • Back light brightness (4 pre-set levels plus auto)
  • Rotary volume/channel and squelch control
  • Duplex
  • 38 CTCSS & DCS codes
  • Diecast metal chassis
  • Auto power off (off/1h/2h/4h)
  • 3.5mm external jack (for optional external speaker)
  • Designed and engineered in Korea
  • Transceiver Dimensions (22.5mm x 100mm x 76mm)
  • ANU220 is a 6.5dBi Antenna with Heavy Duty Barrel Spring with Elevated Feed and Fibreglass Whip.
Download Spec Sheet
Download User Guide
Download Quick Start Guide
Download Fitting Instruction

Oricom UHF CB Radios

Stay Connected Wherever you go

Oricom is an expert in communication technologies and our drive is to keep people connected on and off the road. Our range of UHF CB radios and accessories are recognised in the market as high-quality products priced for everyday use.

Designed for adventure

Built to Work

Oricom is a 100% Australian owned and operated company, engineering radio communication products specifically for the diverse and unique conditions of Australia and New Zealand. However, it’s not just our products that deliver: we understand the importance of local service and support. Oricom always ensure that you and your needs are taken care of, long after the purchase of your high quality Oricom product.

Related Products

BC200 20amp Battery Charger and Maintainer

$229.00

DTX600 Waterproof IP67 5 Watt Handheld UHF CB Radio

$249.00

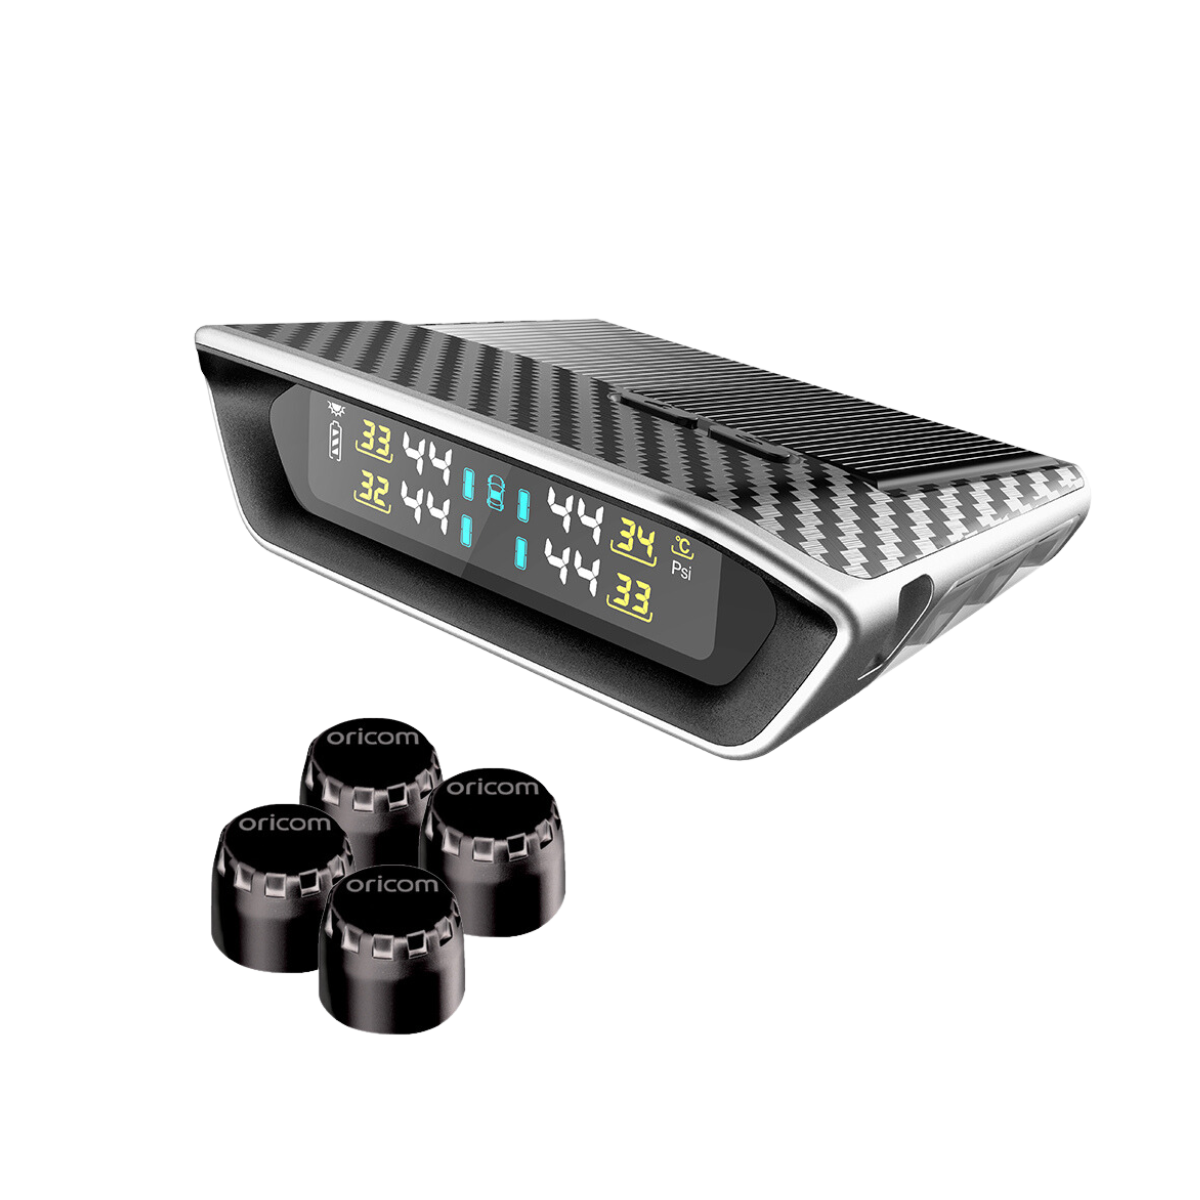
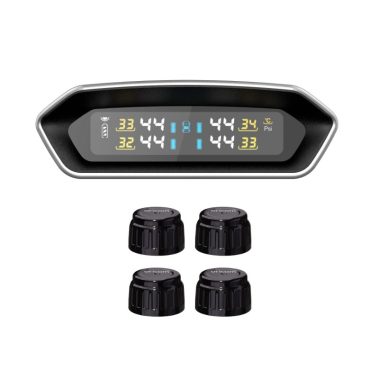
TPS10-4E Real Time Tyre Pressure Monitoring System Including 4 External Sensors

$229.00

1) Radio stays ON when the ignition is switched OFF:
Connect the radio’s negative (black) lead to the vehicle chassis, or directly to the battery’s negative terminal. Connect the radio’s positive (red) lead via the 2 Amp fuse to the battery’s positive terminal. Alternatively, the positive lead could be connected at the fuse box at a point that has DC Power continuously available (preferably the battery side of the ignition switch) via the 2 Amp fuse.

2) Radio turns OFF with the ignition switch:
Connect the radio’s negative (black) lead to the vehicle’s chassis, or directly to the battery’s negative terminal. The radio’s positive (red) lead should connect to an accessory point in the vehicle’s fuse box via the 2 Amp fuse.

Press and hold the Channel selector.

Turn the channel selector clockwise to adjust the sound level for comfortable reception. On the microphone push the up or down buttons to increase or decrease the volume. If held down the volume will increase or decrease quickly.

Press channel selector once. “CH” will appear on the LCD. Select the channel by rotating the channel knob.
On the microphone push the mode button and select the channel using the up or down buttons.

PTT refers to Push To Talk. Pressing the PTT button activates the transmitter. The RF (radio frequency) level will appear on the LCD as you are transmitting. To receive, release the PTT button and then TX will disappear on the display. When transmitting, hold the Mic two inches from your mouth and speak clearly in a normal voice across the front of the Mic area.

Turn radio on while pressing the ANT button. There are two reset levels All Reset “AL reset” and All except the user programmed memories “User reset”. The reset type can select in menu mode. “All reset” will clear all memory and settings back to the factory default settings. “User reset” will clear all settings except user programmed memory channels they will be preserved.

Rotate channel selector to select filp direction vv or nn.

All Oricom products are approved for use in Australia and NZ only, and although they will still work in other countries, they may not meet that countries requirement’s for voltage, operating frequencies or power RF levels and if used may interfere with other services which could attract penalties from the local administration authorities.

What are the wiring configurations for connecting to the vehicles power supply?

1) Radio stays ON when the ignition is switched OFF:
Connect the radio’s negative (black) lead to the vehicle chassis, or directly to the battery’s negative terminal. Connect the radio’s positive (red) lead via the 2 Amp fuse to the battery’s positive terminal. Alternatively, the positive lead could be connected at the fuse box at a point that has DC Power continuously available (preferably the battery side of the ignition switch) via the 2 Amp fuse.

2) Radio turns OFF with the ignition switch:
Connect the radio’s negative (black) lead to the vehicle’s chassis, or directly to the battery’s negative terminal. The radio’s positive (red) lead should connect to an accessory point in the vehicle’s fuse box via the 2 Amp fuse.

How do I turn the unit on?

Press and hold the Channel selector.

How do I set the volume level?

Turn the channel selector clockwise to adjust the sound level for comfortable reception. On the microphone push the up or down buttons to increase or decrease the volume. If held down the volume will increase or decrease quickly.

How do I select a channel?

Press channel selector once. “CH” will appear on the LCD. Select the channel by rotating the channel knob.
On the microphone push the mode button and select the channel using the up or down buttons.

What is the PTT?

PTT refers to Push To Talk. Pressing the PTT button activates the transmitter. The RF (radio frequency) level will appear on the LCD as you are transmitting. To receive, release the PTT button and then TX will disappear on the display. When transmitting, hold the Mic two inches from your mouth and speak clearly in a normal voice across the front of the Mic area.

How do I factory reset this radio?

Turn radio on while pressing the ANT button. There are two reset levels All Reset “AL reset” and All except the user programmed memories “User reset”. The reset type can select in menu mode. “All reset” will clear all memory and settings back to the factory default settings. “User reset” will clear all settings except user programmed memory channels they will be preserved.

How do I flip the LCD display?

Rotate channel selector to select filp direction vv or nn.

Is this radio suitable for use outside of Australia?

All Oricom products are approved for use in Australia and NZ only, and although they will still work in other countries, they may not meet that countries requirement’s for voltage, operating frequencies or power RF levels and if used may interfere with other services which could attract penalties from the local administration authorities.

The toggles are working. Please, note, that you have to add a template to the library in order to be able to display it inside the toggles.

Proudly Protecting our Environment

We are proud to be a signatory of the Australian Packaging Covenant, a unique initiative between government, industry and community, set up to divert packaging waste from landfill.

Hear from our amazing customers!

Need Support?

Find the answers to your questions here

Oricom VIP Club

Join the Oricom Family and receive 10% off your first order*

*Excludes Promotional Items