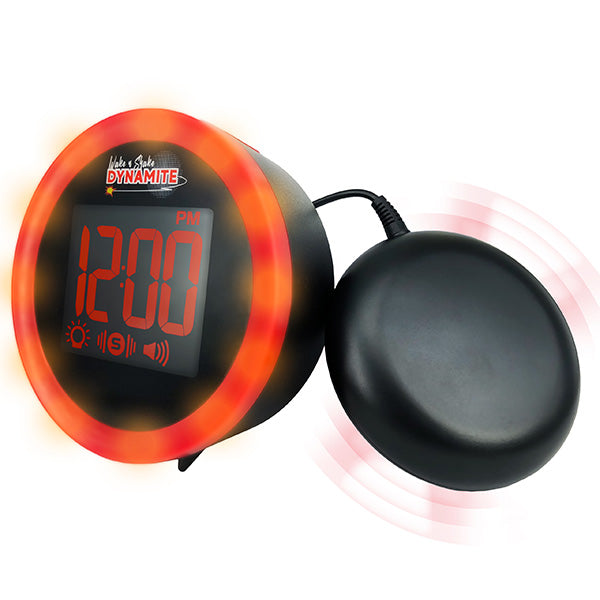
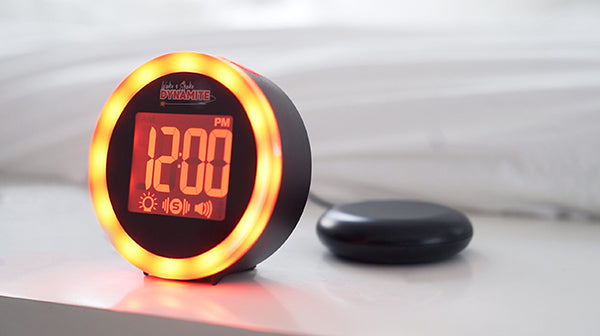

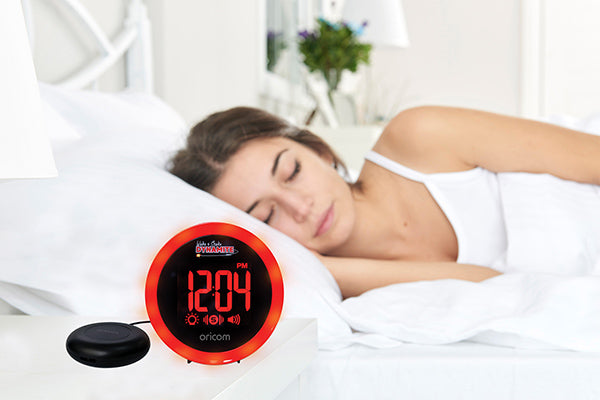


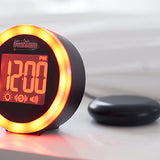
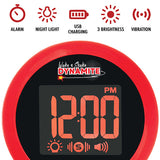
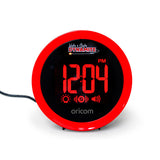

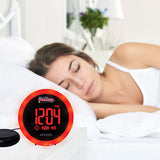

WNS80 Wake 'N' Shake Loud Alarm Clock with Shaker

100% Aussie Owned

Free Delivery Over $99

Trusted Local Support
Product Details
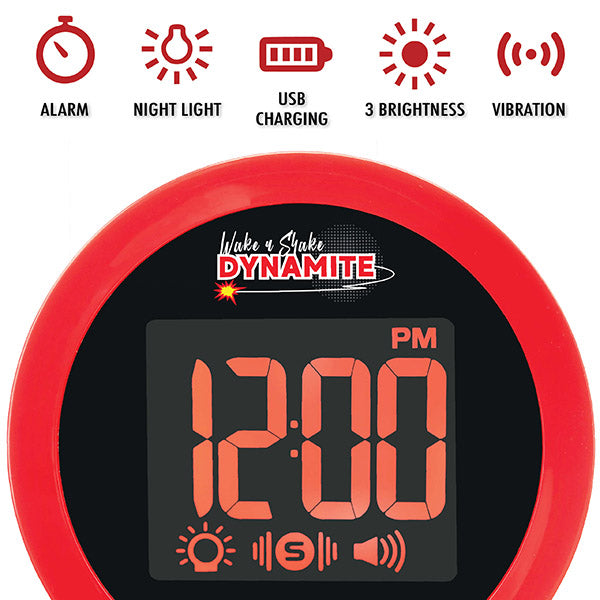
WNS80 Key Features:
-
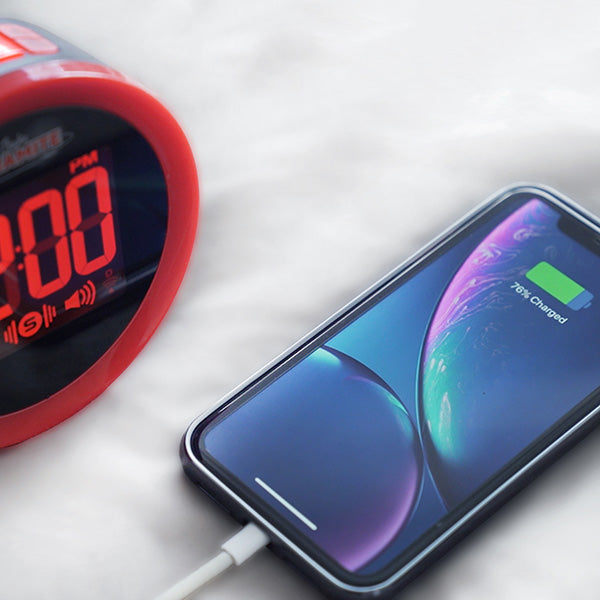
- USB port to recharge mobile phones and other electronic devices. (USB charging cable not included)
- Extra loud (+95 dB*) alarm
- Red extra bright flash (12 LEDs)
- Alarm duration: 1 hour or until manually stopped
- Large LED screen
- Red digits for high contrast
- Adjustable tone control to suit hearing (3 levels)
- LED visual alarm indicator
- 12/24 Hour clock display options
- 12 Month warranty
- 5 Alarm settings: (Alarm Off / Vibration / Ringer + Vibration / Vibration + Flash / Ringer + Vibration + Flash)
*dB Sound Pressure Level (SPL) at 500mm.
Files
User guides
Accessories/Spare parts
Product registration


Additional Information
- Frequently Asked Questions
- Videos Guides
How do I set the Time and Snooze Duration?
1. Press SET once, the hour digits “0” flash. Press ▲ or ▼ to set the time in hours (hold to advance rapidly). 2. Press SET again, the minute digits “00” flash. Press ▲ or ▼ to set the time in minutes (hold to advance rapidly). 3. Press SET again, the display shows “24Hr” and flashes. Press ▲ or ▼ to select “12Hr” or “24Hr” time format. If “12Hr” is selected, the AM will appear on the upper left to indicate the morning time and PM will appear on the upper right to indicate the afternoon. 4. Press SET again, the display shows “05” and flashes. Press ▲ or ▼ to select your snooze time from 5 to 60 minutes. 5. Press SET again or if no key pressed for approx. 10 seconds to exit the setting mode.
How do I set the alarm?
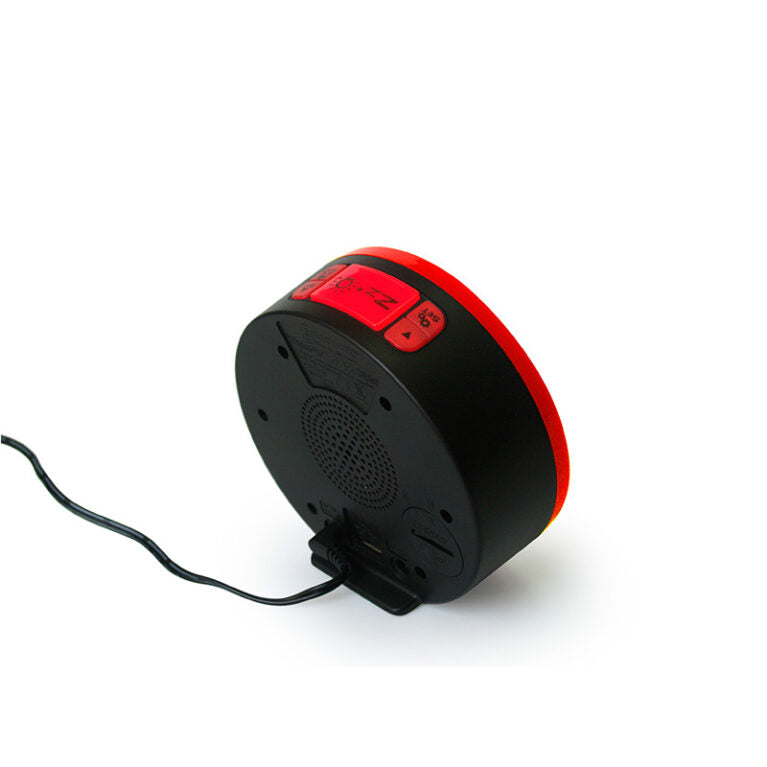
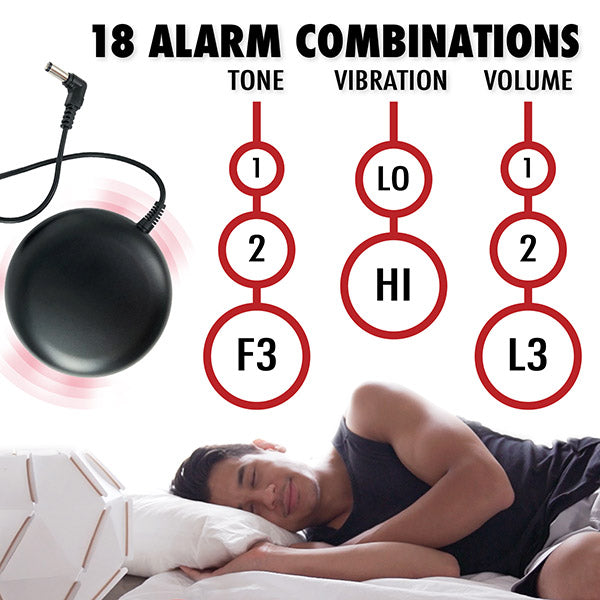
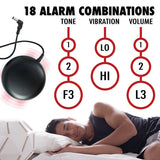
1. Press and hold AL SET / AL STOP, AL appear and the alarm’s hour digits flash. Press ▲ or ▼ to set the alarm in hours. (Hold ▲ or ▼ to advance rapidly). 2. Press AL SET / AL STOP once again, the minute digits flash. Press ▲ or ▼ to set the alarm in minutes. (Hold ▲ or ▼ to advance rapidly). 3. Press AL SET / AL STOP again, LED displays “HI” (vibration at HI level), press ▲ or ▼ to select “LO” (vibration at Lo level). 4. Press AL SET / AL STOP once again, LED displays “F-1 (ex. 800 Hz)” and flash, press ▲ or ▼ to select the alarm tone (frequency): F-1 (low tone, 800 Hz), F-2 (mid tone, 1 KHz), F-3 (high tone, 1.5 KHz) 5. Press AL SET / AL STOP again, LED displays “L1” ( for the Low ringer level), press ▲ or ▼ to select “L3” (for the high ringer level). 6. Press AL SET / AL STOP once again to exit the alarm setting, also if no buttons are pressed for around 10 seconds this will also exit the alarm setting mode.
How do I best take care of my product?
1. Place your clock on a stable surface, away from sources of direct sunlight or excessive heat or moisture. 2. Protect your furniture when placing your unit on a natural wood and lacquered finish by using a cloth or protective material between the unit and the furniture. 3. Clean your unit with a soft cloth moistened only with mild soap and water. Stronger agents such as benzene, cleaners containing alcohol, thinners or similar materials can damage the surface of the unit. 4. Remove the back-up battery if the clock is not going to be used for a month or longer to prevent possible corrosion. Should the battery compartment become corroded or dirty, clean the compartment thoroughly and replace the battery.
How do I charge a mobile phone with the USB socket?
Connect the charging cable of your mobile phone to the USB port at the back of the clock and then connect the other end to the micro USB charging socket on your mobile phone. The clock will charge the mobile phone automatically. Note: 1. Make sure the cable supplied with your mobile phone is used for charging. 2. Make sure the adaptor supplied with this clock (5V 1.2A) is used to power it. 3. It is not possible to charge an iPad® or notepad from the USB socket on this clock. 4. When the alarms are sounding/active you can not charge phones etc using the USB port.
How do I initially set the unit up?
Plug the supplied AC/DC adaptor to an AC household outlet, and then plug the DC jack to the back of the unit. Your clock is ready to work for you.