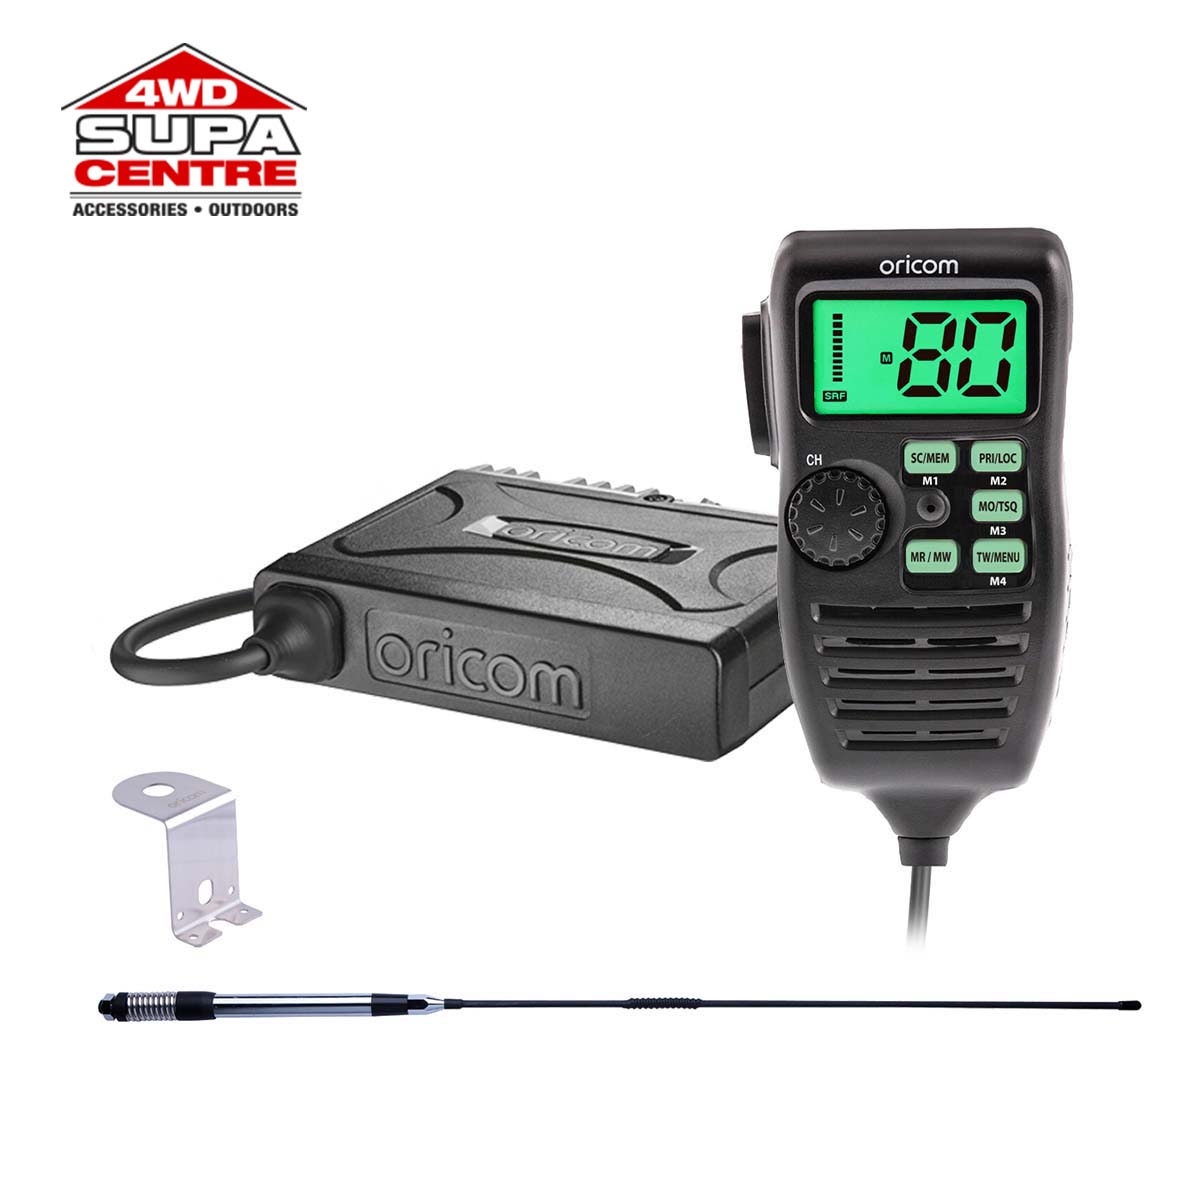
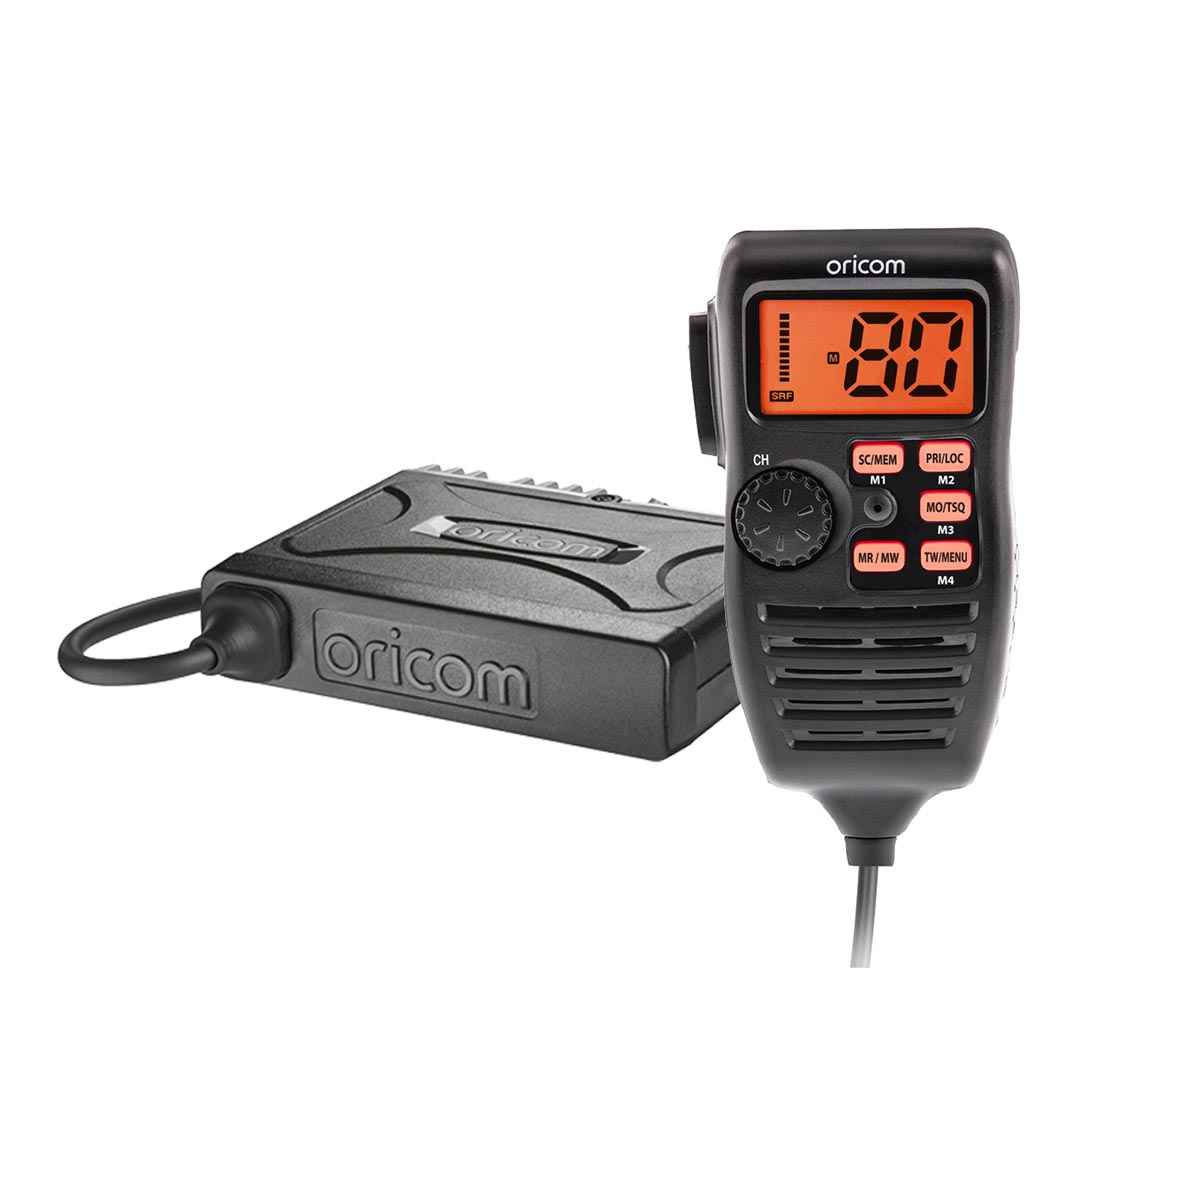
UHF380M Pack including ANU200 Antenna & BR100 Bracket
$349.00
Perfect for installation in vehicles where space is limited, simply hide the micro transceiver under the dash or driver’s seat.
The UHF380M controller speaker microphone includes all the radio’s controls.
Pack includes: UHF380M 5 Watt UHF CB Radio, ANU200 6.5dBi antenna and BR100 “Z” style bracket.
Out of stock
Where to buy- 5 watt (max TX power)
- Heavy duty controller speaker microphone
- Rugged micro size transceiver
- Large easy to read LCD display
- Audio equaliser
- 38 CTCSS and 104 DCS codes
- Duplex (range extender)
- Open/Priority scan
- Priority channel
- 3.5mm external speaker jack
- Designed for Australian conditions. Made in Korea
- 5 Year Warranty on UHF380M
- Transceiver Dimensions (27mm x 102mm x 85mm)
ANU200 – Key Features
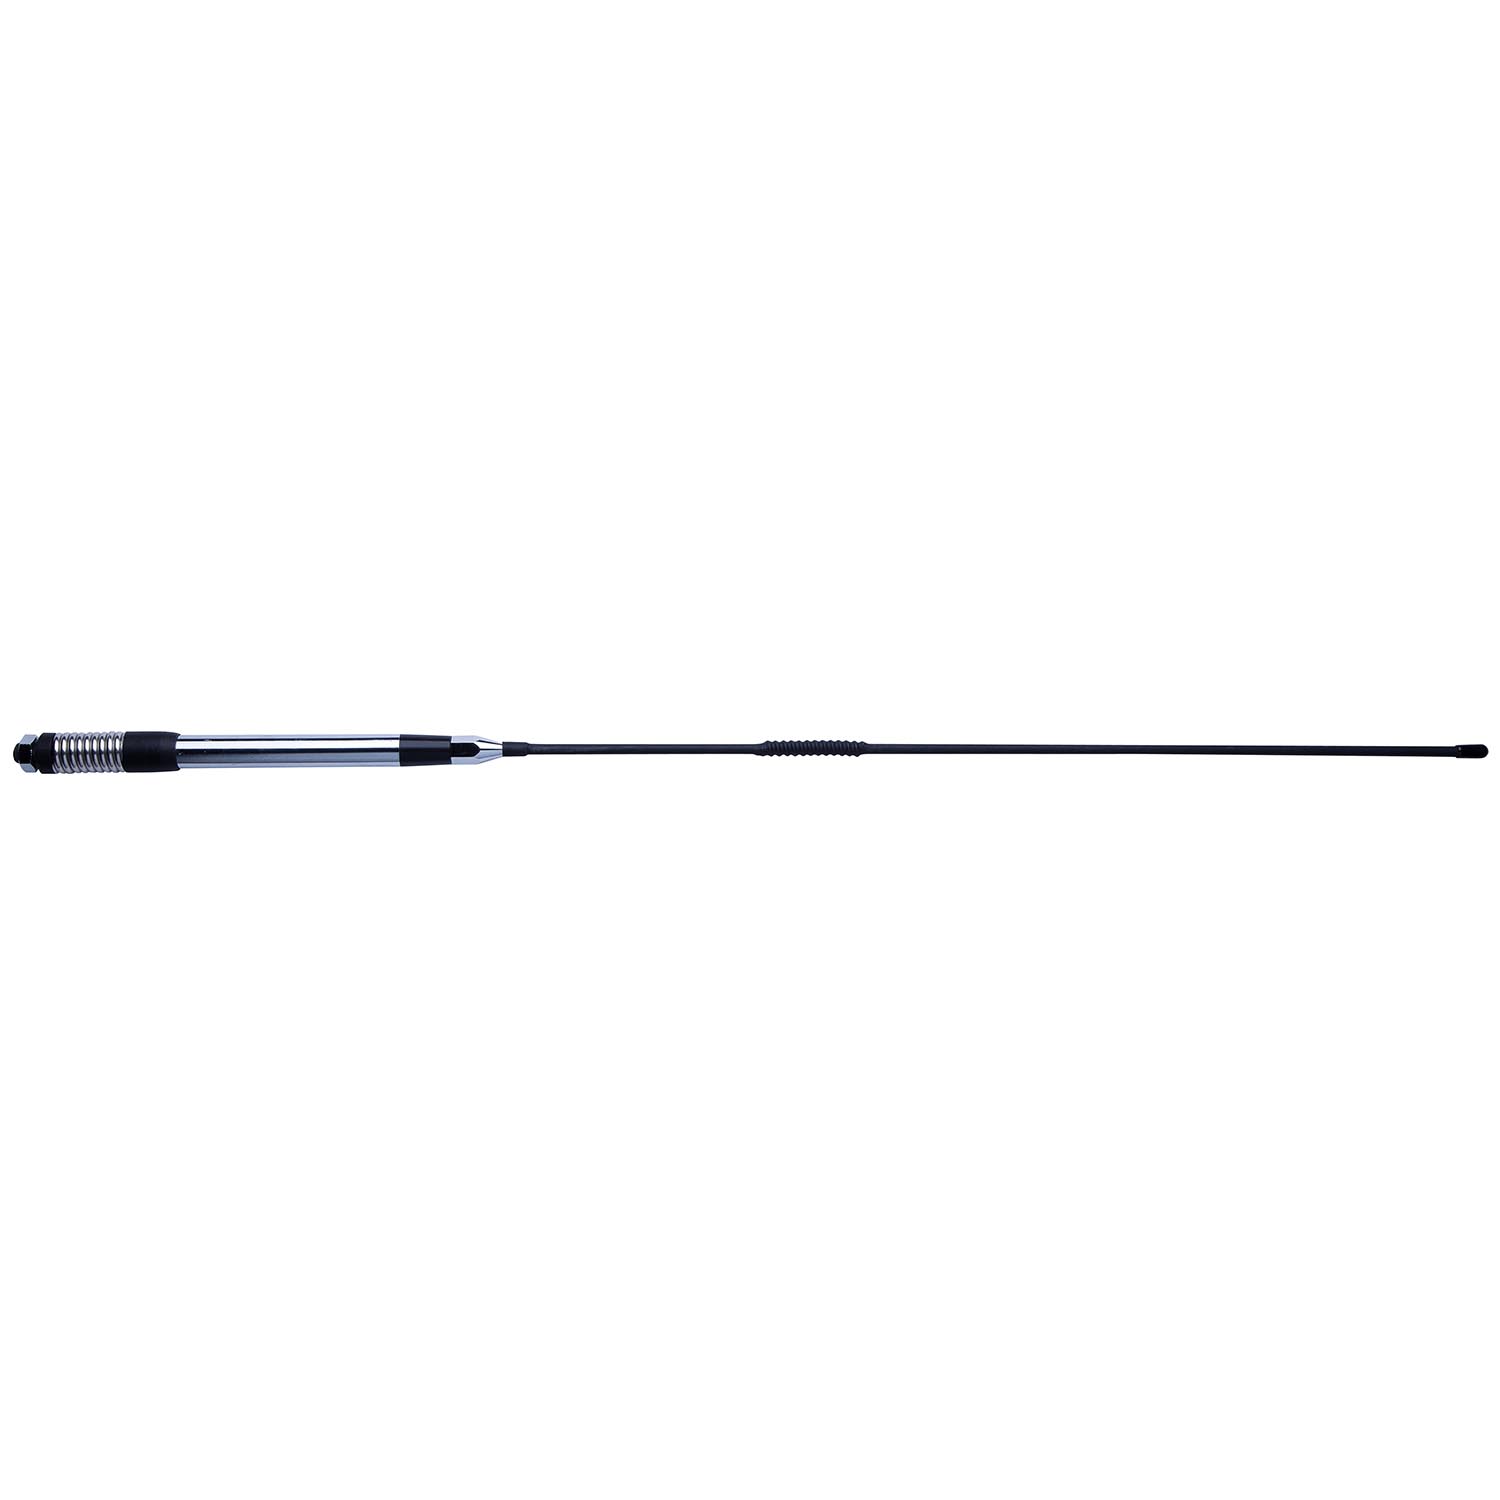
- Pre-tuned to UHF CB Frequency
- Ground independent
- Fiberglass whip
- Elevated feed with heavy duty spring
- Antenna length: 830mm
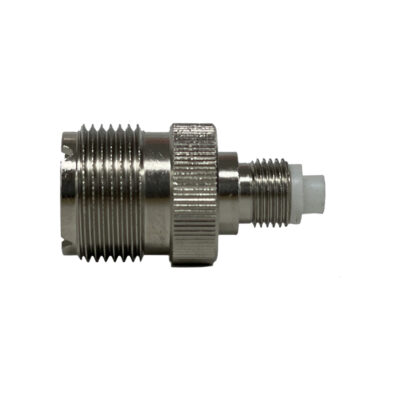
- Includes 3.8m RG58 coaz cable, pre-terminated FME connector and PL259 connector
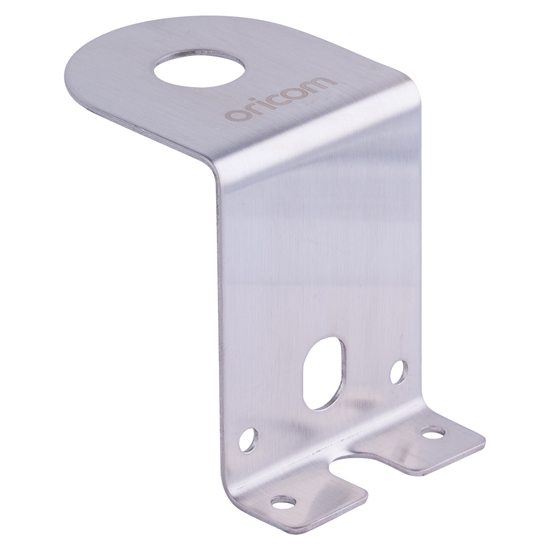
BR100 “Z” antenna bracket for boot or bonnet mount.
*This 80 channel narrowband radio has a total of 75 useable voice channels Channels 22 and 23 are used for Telemetry and Telecommand, voice communications are not allowed on these channels. Channels 61,62 and 63 are guard channels and are not available for use.


- UHF CB Radio (UHF380M)
- Heavy Duty Controller Speaker Microphone (2U0168)
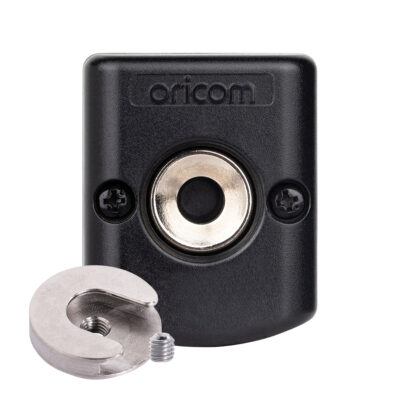
- Microphone mounting bracket (2U0124)
- Transceiver mounting bracket (2U0055)
- 6.5dBi Antenna (ANU200)
- Z Bracket (BR100)
- Pack of supplied mounting screws (2U0171)
- User Guide
Q. How do I fit the controller speaker microphone?
A. The Remote Head uses an 8 pin telephone style plug and socket:
1. Position the microphone plug so the plastic flap faces downwards, and press the plug into the socket until it ‘clicks’.
2. Gently press the rubber boot into the hole surrounding the socket so that the slot around the boot fits neatly inside the rim of the entry hole.
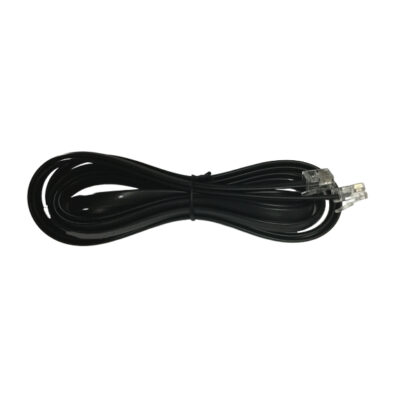
3. If required use the external cable (supplied) to allow the radio to be installed further from the Controller Speaker Microphone.
Q. Should I disconnect the Controller Speaker Microphone when not in use?
A. It is recommended that the Speaker Controller Microphone be left permanently connected to the radio, but if it must be disconnected, proceed as follows:
1. Lift the rubber boot and the lip of the raised area on the front panel.
2. Ease the rubber boot out of the cable entry hole and slide it along the cable away from the front panel.
3. Identify the plug locking lever, move the lever towards the plug body. At the same time gently pull the plug from the socket.
Q. What is the over voltage protection?
A. The radio has a high voltage input detection system, to warn you if an overvoltage situation occurs. Eg.: If the power supply voltage exceeds 17volts DC, the channel display (LCD backlight) will flash in 3 different colours when the unit is turned on. In additon, when transmitting, the TX indicator will automatically select a low power output. If the overvoltage warning appears, you must switch your radio off and disconnect it from the power source, before locating the cause of the trouble. The power source must not exceed 30volts.
Q. What radio install options do I have?
A. 1) Radio stays ON when the ignition is switched OFF
Connect the radio’s negative (black) lead to the vehicle chassis, or directly to the batteries negative terminal. 11 Installation Connect the radio’s positive (red) lead via the 2 Amp fuse to the battery’s positive terminal. Alternatively, the positive lead could be connected at the fuse box at a point that has +13.8 Volts continuously available (preferably the battery side of the ignition switch) via the 2 Amp fuse.
2) Radio turns OFF and ON with the ignition switch Connect the radio’s negative (black) lead to the vehicle’s chassis, or directly to the batteries negative terminal. The radio’s positive (red) lead should con
Q. How do I turn the UHF380 on?
A. Press and hold the PWR button on the microphone for 2 seconds. Inital power on channel will default to channel 12.
Q. How do I adjust the volume on the radio?
A. The UHF380 has a rotary volume control. Adjust the volume by rotating the channel knob until you reach the desired level.
Q. How do I select a channel on the radio?
A. Briefly press the PWR button, Select the channel by rotating the channel knob until you select the desired channel.
Q. What are the Multi Function buttons and how are they used?
A. To use the primary function (F,PRI,ID,MO,SC) press the required button.
To use the secondary function (DPX,LO,CAL,TSQ,MEM) press and hold the button for 2 seconds.
To use the third function (ALPHA,QUIET,MENU,OS//GS), press F/DPX and press the required button. 13 Operations.
To use the forth function (I1 to I5), briefly push the power button 2 times. The display will show “INSTANT”. Then press the required button.
Q. What is the Selcall function? How does it work?
A. Selcall or Selective Calling is a function that allows you to selectively call another radio, using a unique ID number.
Your radio has 10 programmable Selcall ID memories. The ID memories are displayed as “C0 to C9”. Here you will program Selcall ID numbers of other radios. Your Radio’s Selcall Identification number is preset at “12345”. You must change this number to your own unique five digit Selcall ID number.
Selcall Identification Name
In addition to the Selcall ID number, each Selcall ID can be named using a 5 character ALPHA name. The ALPHA name is stored in memory along with the ID code. When an incoming Selcall is received and the Selcall matches one of those in your radio’s memory. The name can be displayed instead of the Selcall ID number.
Q. What is Quiet Mode?
A. Puts the receiver in the Q mode. When activated, the radio prevents any unwanted conversations in the channels from being heard unless the call is specifically directed to you and the Selective call ID required to open the Q mode condition has been received. Under this condition, the PTT button is temporarily disabled. If you wish to use the same Channel for normal communication, simply remove the Channel from Q mode.
Q. How do I use the Key Lock function?
A. Push and hold the PRI/LO button for 2 seconds to lock all buttons except for the following buttons. (volume up and down, Power On/Off, Monitor, F/DPX, Push to talk ).
Q. How do I restore the radio to factory settings?
A. If the radio’s display locks up or stops functioning properly, you might need to reset your UHF radio. Caution: this procedure clears all the information you have stored in your UHF radio. Before you reset your UHF radio, try turning it off and on again. If your UHF radio is still not functioning correctly you may need to reset the UHF radio! While holding the F/DPX button, turn the UHF radio on. INITI AL will be displayed for 1 to 2 seconds, the radio will then return to its original display.
You might also like these...
Based on what you are viewing these items might also be of interest.


 Baby Care
 Senior Care
 Air Purifiers
 UHF CB Radios
 Tyre Pressure Monitors
 Automotive Products
 Marine VHF Radios