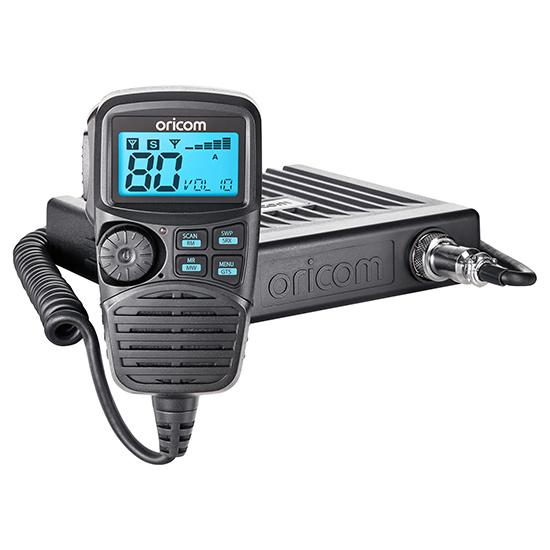
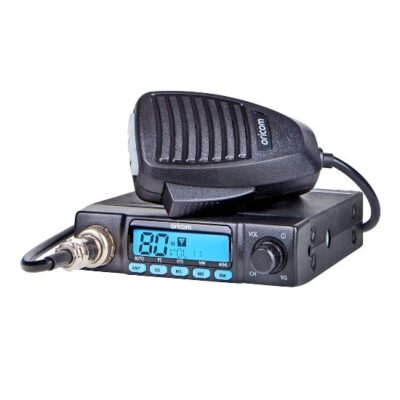
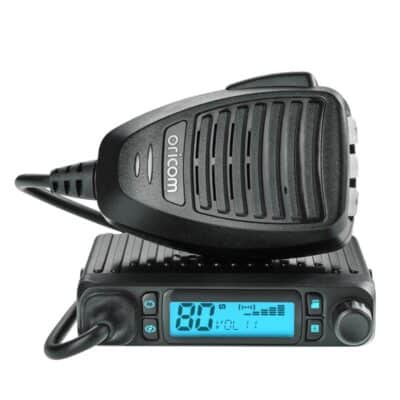
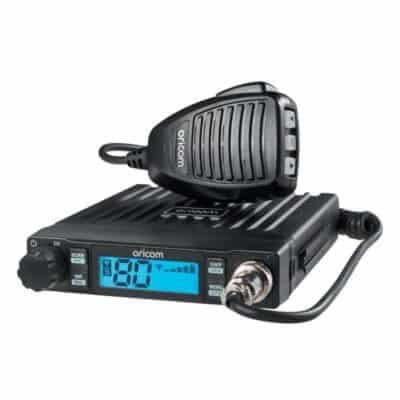
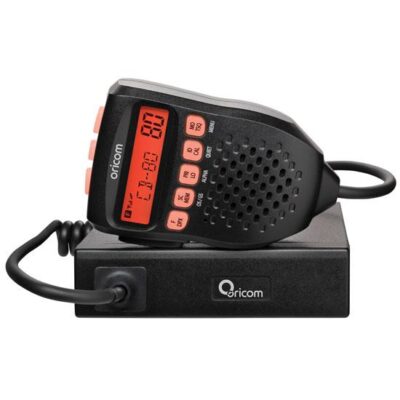
DTX4200 Dual Receive Controller Speaker Mic
$449.00
An Australian First!
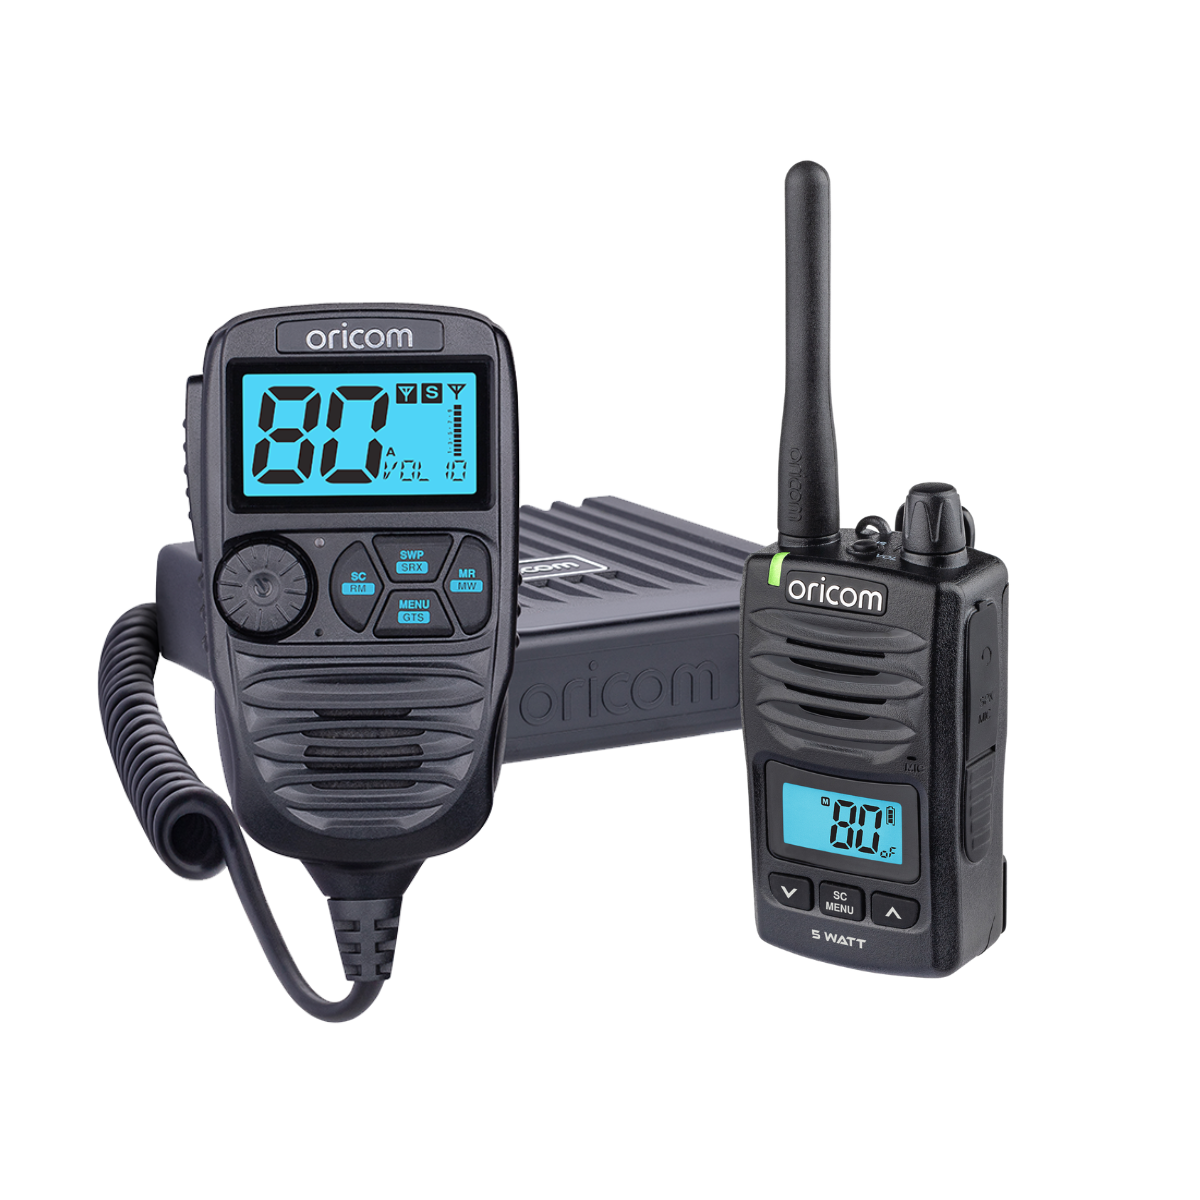
Like having two radios in one, the dual receive function allows you to receive and listen to two different channels simultaneously without compromising the regular features you’d expect from a UHF CB Radio. Perfect radio for any vehicle where space is limited.
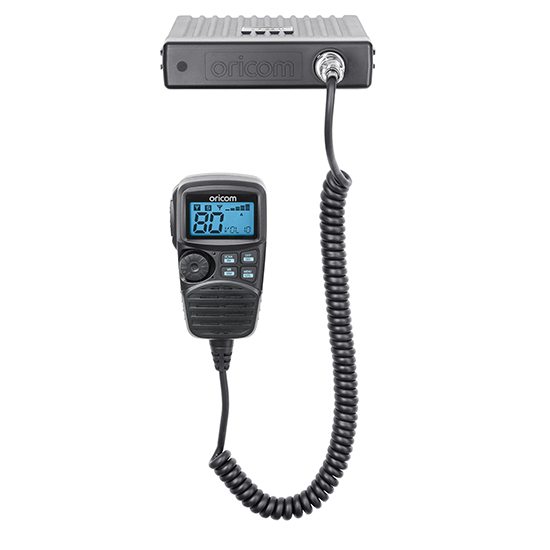
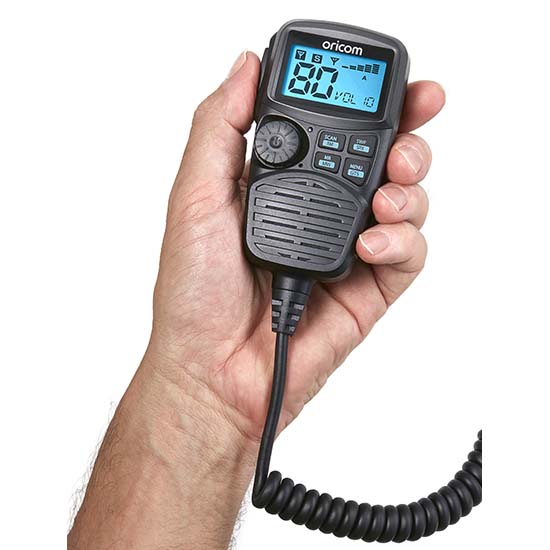
Simply, install the transceiver out-of-sight as the fully functional ergonomic controller speaker mic has all you’ll need to stay connected on and off road.
The DTX4200 recently featured on both ‘What’s Up Down Under’ and ‘Top Of Down Under’. Click on the Videos tab below to watch the videos.
Out of stock
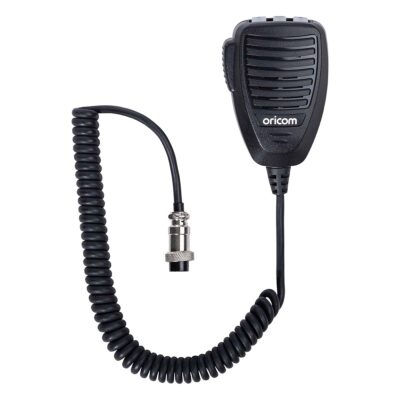
Where to buy- Heavy duty controller speaker microphone
- IP54 dust and splash resistant
- Dual receive
- Heavy duty diecast metal chassis
- 12/24 volt operation
- 3 memory groups of 16 channels per group
- (PC programmable)
- Large 96 multi-colour backlit display
- Back light brightness (5 preset levels plus auto)
- Fast scanning 80 channels within 3 seconds
- Rotary volume/channel and squelch control
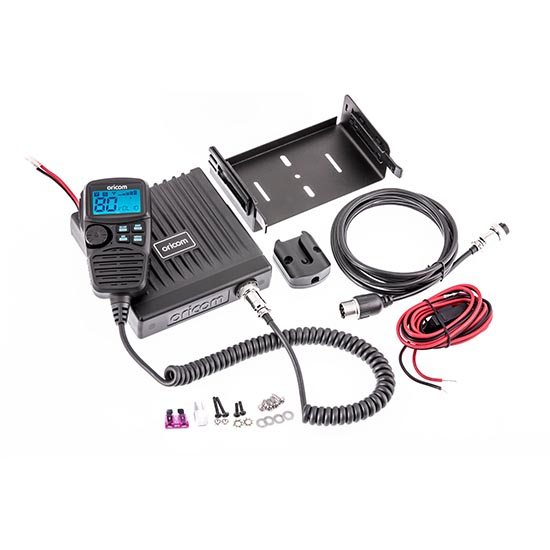
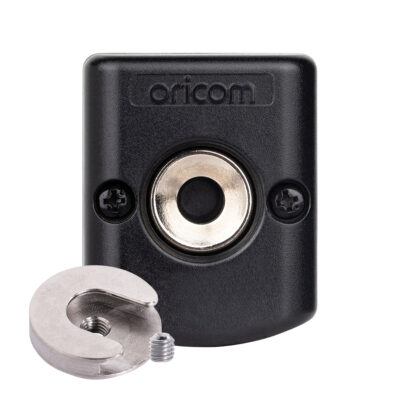
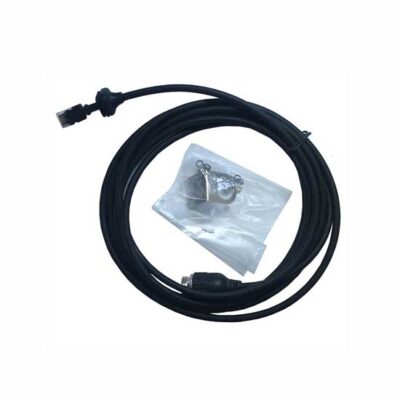
- Included in the pack; 2m microphone extension cable, slide in bracket and mounting hardware
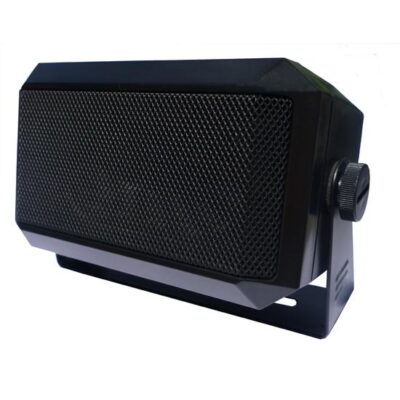
- 3.5mm external jack (for optional external speaker or PA adaptor)
- Transceiver Dimensions (31mm x 128mm x 147mm)


- Premium UHF CB Radio (DTX4200)
- Heavy Duty Controller Speaker Microphone
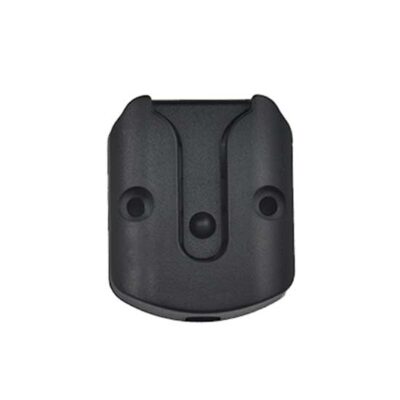
- Microphone mounting bracket
- Transceiver mounting bracket
- Pack of supplied mounting screws
- User Guide
Q. What are the wiring configurations for connecting to the vehicles power supply?
A. 1) Radio stays ON when the ignition is switched OFF:
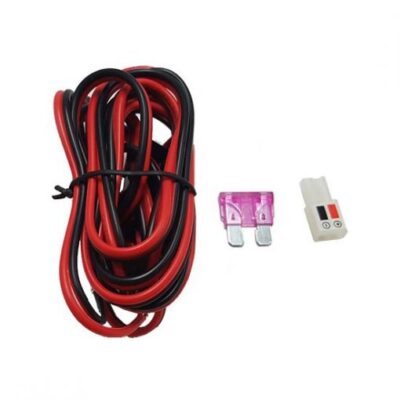
Connect the radio’s negative (black) lead to the vehicle chassis, or directly to the battery’s negative terminal. Connect the radio’s positive (red) lead via the 2 Amp fuse to the battery’s positive terminal. Alternatively, the positive lead could be connected at the fuse box at a point that has DC Power continuously available (preferably the battery side of the ignition switch) via the 2 Amp fuse.
2) Radio turns OFF with the ignition switch :
Connect the radio’s negative (black) lead to the vehicle’s chassis, or directly to the battery’s negative terminal. The radio’s positive (red) lead should connect to an accessory point in the vehicle’s fuse box via the 2 Amp fuse.
Q. Where should the DTX4200 be mounted in vehicle?
A. The universal mounting bracket supplied with your UHF radio allows overhead/dash mounting. Mount the UHF radio via the bracket, securely with the supplied screws in the desired location, ensuring the surface is sturdy and can support the weight of the radio.
Q. How do I turn on the unit?
A. Press and hold the channel selector.
Q. How do I set the volume on this unit?
A. Rotate the channel selector clockwise to adjust the sound level for comfortable reception.
Q. How do I select a channel?
A. Press channel selector once. “CH” will appear on the LCD. Select the channel by rotating the channel selector, Clockwise Channel UP, anti-clockwise Channel DOWN.
Q. What is the PTT?
A. PTT refers to Push To Talk. Pressing the PTT button activates the transmitter. The RF (radio frequency) level will appear on the LCD as you are transmitting. To receive, release the PTT button and then TX will disappear on the display. When transmitting, hold the Mic two inches from your mouth and speak clearly in a normal voice across the front of the Mic area.
Q. How do you use and operate the Public Address Feature?
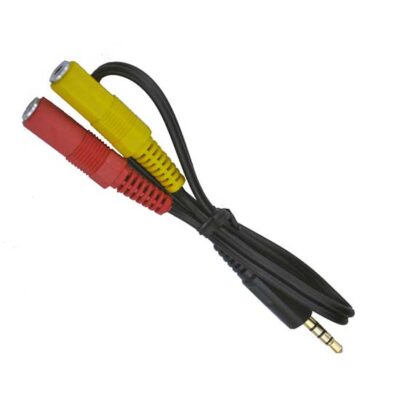
A. To use and external PA speaker connect the optional PA cable to the External speaker jack on the rear of the radio, connect the PA speaker to the yellow coloured socket and the external CB speaker to the red coloured socket the output will be directed to the PA speaker when PA function is selected. How to operate the Public Address
1. Press and hold the PTT while turning the power on.
2. Press the PTT and speak into the microphone the audio will be output through the PA speaker.
3. Adjust the volume using the volume control.
4. To Exit PA mode turn radio off and back on.
Q. How do I access the menu list?
A. – Press MENU/GTS button to access menu.
– Use the channel selector to change the value of each setting.
– If a button is not pressed within 8 seconds the radio will automatically exit the menu mode.
– You can exit the menu at any time by briefly pressing PTT button.
Q. Are you able to dim the backlight?
A. You can reduce the brightness of the backlight by selecting levels 1 to 5, off or Auto, which will adjust the level of brightness depending on ambient light.
Q. How do I return the radios features back to Factory settings?
A. To reset your radio, press and hold SCAN/RM button while turning the power on. The display “AL-reset” or “User-reset” will indicate reset type. The reset type can be selected in menu mode. User reset will not delete any stored memory channels. AL-reset will clear all memory channels and reset all settings back to factory.
Q. Is this radio suitable for use outside of Australia?
A. All Oricom products are approved for use in Australia and NZ only, and although they will still work in other countries, they may not meet that countries requirement’s for voltage, operating frequencies or power RF levels and if used may interfere with other services which could attract penalties from the local administration authorities.
You might also like these...
Based on what you are viewing these items might also be of interest.


 Baby Care
 Senior Care
 Air Purifiers
 UHF CB Radios
 Tyre Pressure Monitors
 Automotive Products
 Marine VHF Radios