
When it comes to parking and reversing, having the right visibility can make all the difference. While traditional fixed-installed reversing cameras have their place, Oricom offers a more flexible and user-friendly solution with our WRC001 Portable Reversing Camera. In this guide, we will walk you through the process of installing a reversing camera, with a focus on how the Oricom WRC001 provides a hassle-free alternative to traditional fixed systems.
While fixed reversing cameras often require professional installation and come with high installation costs, the Oricom WRC001 offers a simple, portable solution that can be installed in just a few easy steps. Whether you're using it in your car, van, or 4WD, the portable nature of the WRC001 makes it versatile and easy to move between vehicles. This makes it the perfect choice for those who need an affordable and flexible reversing camera system.
Before diving into the installation process, it’s important to familiarise yourself with the key components of the WRC001 Portable Reversing Camera. Here’s a quick rundown:
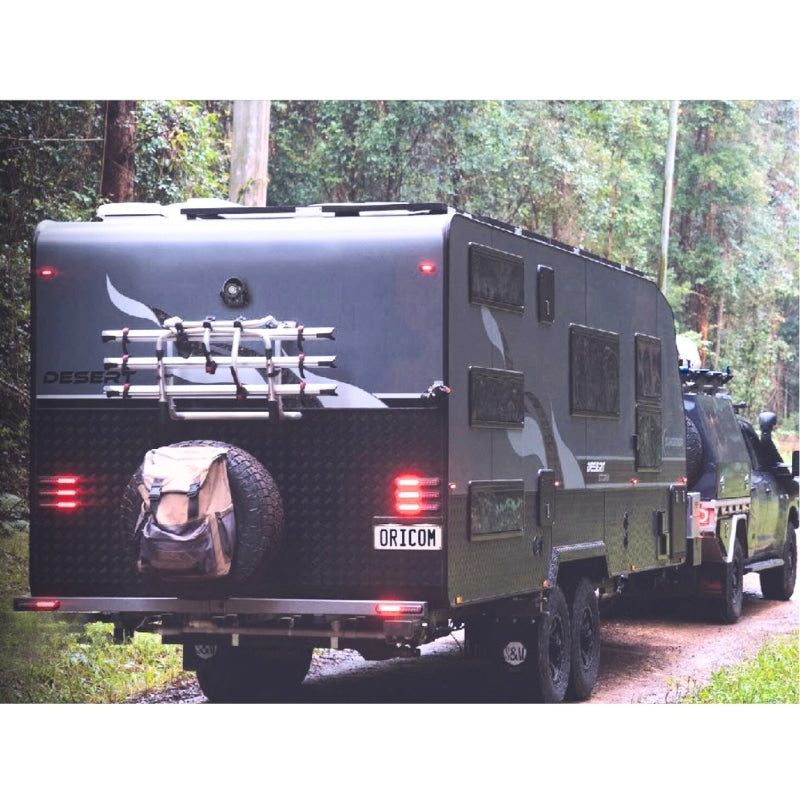
The first step to installing the Oricom WRC001 reversing camera is to choose the perfect location. The camera needs to be mounted at a high enough position to provide a clear view of the area directly behind your vehicle. The most common placement for the camera is near the vehicle’s rear license plate or tailgate.
To install the camera:
After installation, it’s always a good idea to test the system to make sure everything is working as expected. Manually adjust the camera angle if necessary, to achieve the desired viewing.
Simple re enter the vehicle and you are now sorted for the exact angle you need to monitor.
While there are numerous reversing camera options on the market, the Oricom WRC001 stands out due to its:
Installing a reversing camera has never been easier with the Oricom WRC001 Portable Reversing Camera. The simple installation process, combined with its flexible, wireless design, makes it a perfect choice for anyone looking to enhance their vehicle's safety. Whether you’re driving a car, van, or 4WD, the Oricom WRC001 provides a reliable and affordable reversing solution that can be set up in minutes.
Ready to make parking and reversing a breeze?
Visit oricom.com.au today to learn more about the WRC001 and our other innovative automotive solutions.
Why Choose a Portable Reversing Camera?
While fixed reversing cameras often require professional installation and come with high installation costs, the Oricom WRC001 offers a simple, portable solution that can be installed in just a few easy steps. Whether you're using it in your car, van, or 4WD, the portable nature of the WRC001 makes it versatile and easy to move between vehicles. This makes it the perfect choice for those who need an affordable and flexible reversing camera system.
Step 1: Understand the Components of the Oricom WRC001
Before diving into the installation process, it’s important to familiarise yourself with the key components of the WRC001 Portable Reversing Camera. Here’s a quick rundown:
- Wireless camera: This compact camera provides a clear view of the area behind your vehicle or trailer.
- Mounting bracket: These allow you to securely attach the camera to your vehicle, either through the magnet on the base of the bracket, or through the included heavy duty Velcro.
- Power: The camera is USB charged, and has a lengthy battery life to ensure you always have a solution when you need it most.
Step 2: Position the Camera
The first step to installing the Oricom WRC001 reversing camera is to choose the perfect location. The camera needs to be mounted at a high enough position to provide a clear view of the area directly behind your vehicle. The most common placement for the camera is near the vehicle’s rear license plate or tailgate.
To install the camera:
- Choose a flat surface: Find a clean, flat spot on the rear of your vehicle, or a surface near to your vehicle but in the spot you most need it.
- Mount the camera: Use the included bracket to attach the camera securely with gimble screws on the sides. The Oricom WRC001’s camera is designed for easy installation, and with the included magnets or velcro, it will stay firmly in place.
- Adjust the angle: Position the camera to give you the widest possible view of your rear surroundings.
Step 3: Test the System
After installation, it’s always a good idea to test the system to make sure everything is working as expected. Manually adjust the camera angle if necessary, to achieve the desired viewing.
Simple re enter the vehicle and you are now sorted for the exact angle you need to monitor.
Why Choose the Oricom WRC001 for Your Reversing Camera Needs?
While there are numerous reversing camera options on the market, the Oricom WRC001 stands out due to its:
- Flexibility: The portable nature of the system makes it ideal for use across multiple vehicles.
- Ease of installation: No complicated wiring or professional installation is required.
- Wireless technology: Enjoy hassle-free operation with wireless connectivity between the camera and smart device.
- Clear, reliable performance: The camera offers a crisp, high-quality image, ensuring you have a clear view of your rear surroundings when reversing.
Final Thoughts
Installing a reversing camera has never been easier with the Oricom WRC001 Portable Reversing Camera. The simple installation process, combined with its flexible, wireless design, makes it a perfect choice for anyone looking to enhance their vehicle's safety. Whether you’re driving a car, van, or 4WD, the Oricom WRC001 provides a reliable and affordable reversing solution that can be set up in minutes.
Ready to make parking and reversing a breeze?
Visit oricom.com.au today to learn more about the WRC001 and our other innovative automotive solutions.


