


DTX4000VP216 Dual Receive UHF CB Radio Value Pack

.


Dual Receive
Receive Two Channels at the Same Time
The DTX4000 uses Oricom’s unique Dual Receive feature. It’s just like having two radios in one.
This allows you to receive and listen to two different channels simultaneously. So if you’re talking to your mates on channel 64 and you are monitoring the highway channel on 40 you will be able to receive both transmissions at the same time, so you don’t miss an important conversation.
Product Details
DTX4000 Key Features:
- Dual receive
- IP54 dust and splash resistant
- 12/24 volt operation
- 3 memory groups of 16 channels per group (PC programmable)
- Removable front panel
- Radio can be mounted with the speaker facing upwards or downwards
- 96 multi-colour backlit display
- Back light brightness (5 pre-set levels plus auto)
- Fast scanning 80 channels within 3 seconds
- Rotary volume/channel and squelch control
- Duplex
- 38 CTCSS & 104 DCS codes
- Heavy duty diecast metal chassis
- Slide-in mounting bracket
- Auto power off (off/1h/2h/4h)
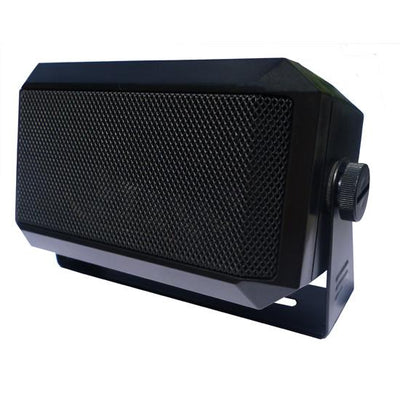
- 3.5mm external jack (for optional external speaker or PA adaptor)
Antenna Key Features:
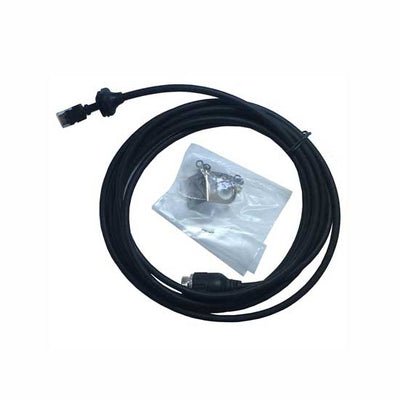
A 6.5dbi antenna with elevated feed, counter balanced spring and solid black fiberglass whip. The counter balanced spring is designed to absorb the vibrations from the engine and/or rough corrugated roads for better performance. This unit include 4.5m of low-loss coaxial cable and a PL259 connector.
This antenna configuration is by far the most popular on the Australian market. Ideal for use in off-road conditions with four-wheel drives, or for vehicles with diesel engines.
This antenna allows for a variety of mounting options from bullbar, gutter to wing mount. A specific bracket will be required depending on the mounting option chosen (bracket not supplied). The 6.5dBi high-gain low SWR antenna gives the best "all-round" transmit and receive performance.
Length including spring and base: 83cm.
The thread size for the whip (not the spring base) is 5/16 UNC.


Files
User guides
Accessories/Spare parts


Product registration
Additional Information
- Frequently Asked Questions
- Videos Guides
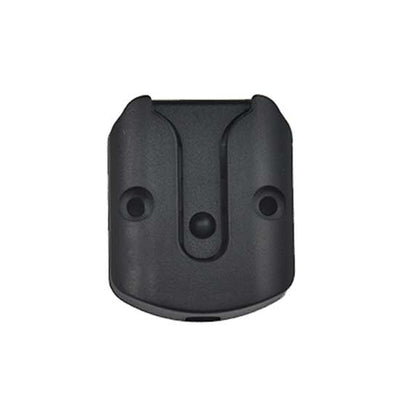
Where does the supplied bracket allow for install?
The universal mounting bracket supplied with your transceiver allows overhead/dash mounting. Mount the transceiver via the bracket, securely with the supplied screws, in the desired location, ensuring the surface is sturdy and can support the weight of the radio.
How do you turn the unit on?
Press and hold the channel selector.
How do you set the volume on the unit?
Turn the channel selector clockwise to adjust the sound level for comfortable reception. On the microphone push the up or down buttons to increase or decrease the volume. If held down the volume will increase or decrease quickly.
How to select a channel?
Press channel selector once. The "CH" appear on the LCD. Select the channel by rotating the channel selector up or channel down. On the microphone push the mode button and select the channel by pushing the up or down buttons.
What is the PTT?
PTT refers to Push To Talk. Pressing the PTT button activates the transmitter. The RF (radio frequency) level will appear on the LCD as you are transmitting. To receive, release the PTT button and then TX will disappear on the display. When transmitting, hold the Mic two inches from your mouth and speak clearly in a normal voice across the front of the Mic area.
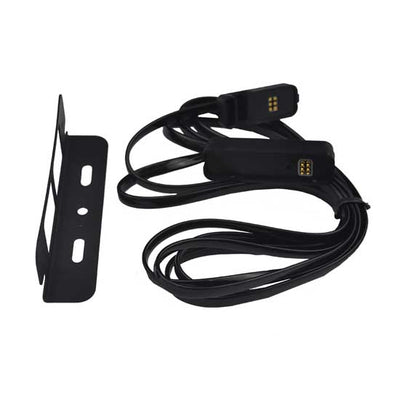
How do you use and operate the Public Address Feature?
To use and external PA speaker connect the optional PA cable to the External speaker jack on the rear of the radio, connect the PA speaker to the yellow coloured socket and the external CB speaker to the red coloured socket the output will be directed to the PA speaker when PA function is selected. How to operate the Public Address Press and hold the PTT while turning the power on. Press the PTT and speak into the microphone the audio will be output through the PA speaker. Adjust the volume using the volume control. To Exit PA mode turn radio off and back on.
Are you able to dim the backlight?
You can reduce the brightness of the backlight by selecting levels 1 to 5, off or Auto, which will adjust the level of brightness depending on ambient light.
How do you restore the radios settings back to Factory settings?
Press and hold SCAN/RM button while turning the power on. The display "AL-reset" or "User-reset" will indicate reset type. The reset type can select in menu mode. The user reset will not delete any stored memory channels.