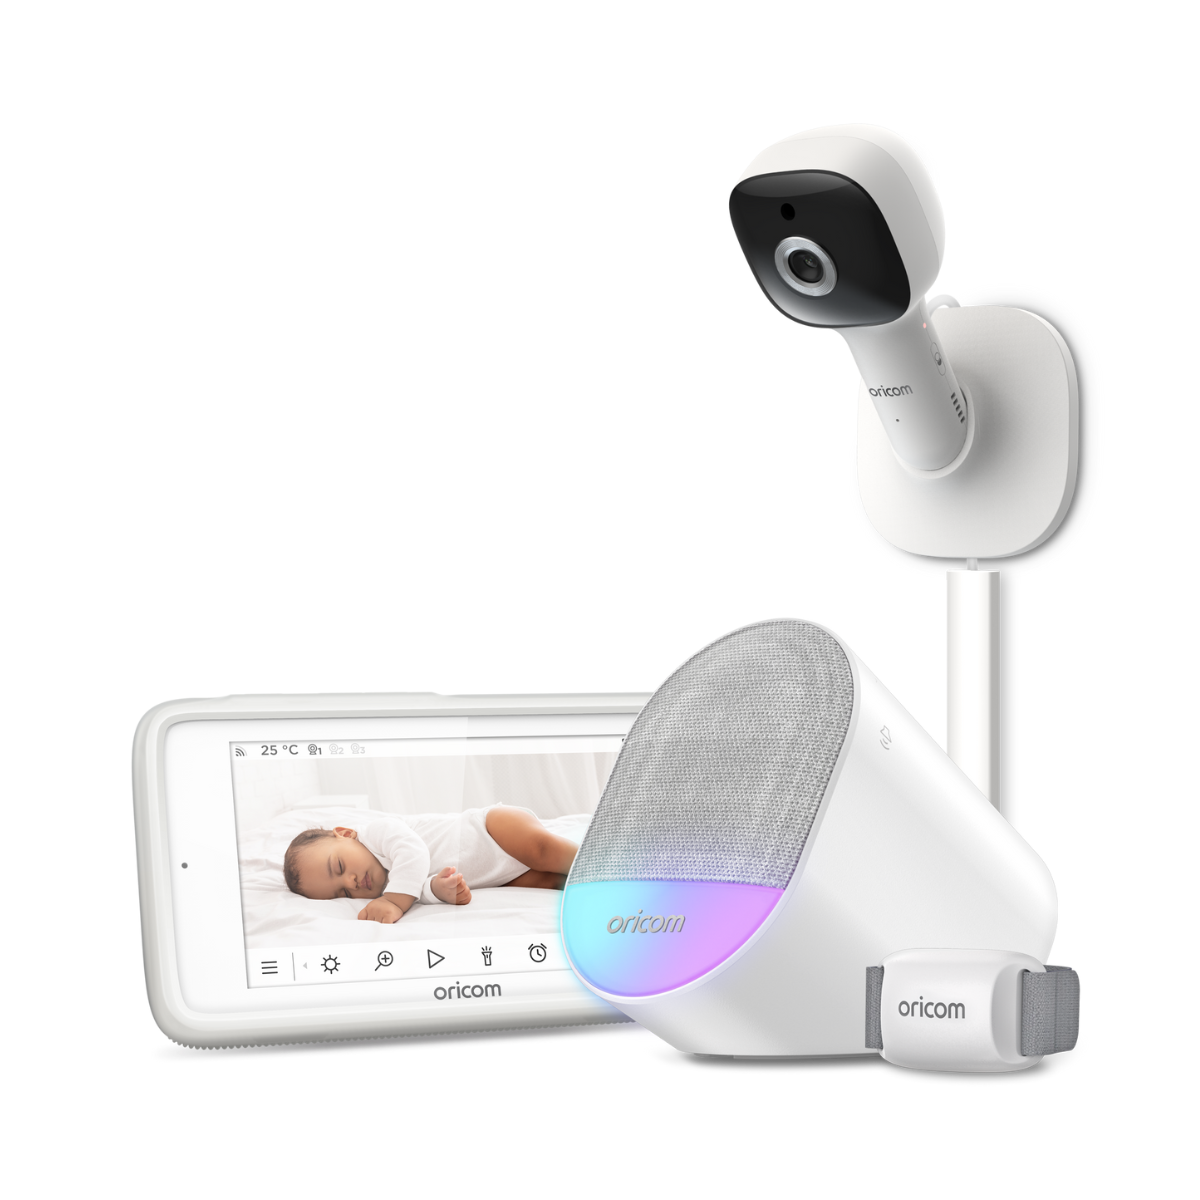
 Baby Care
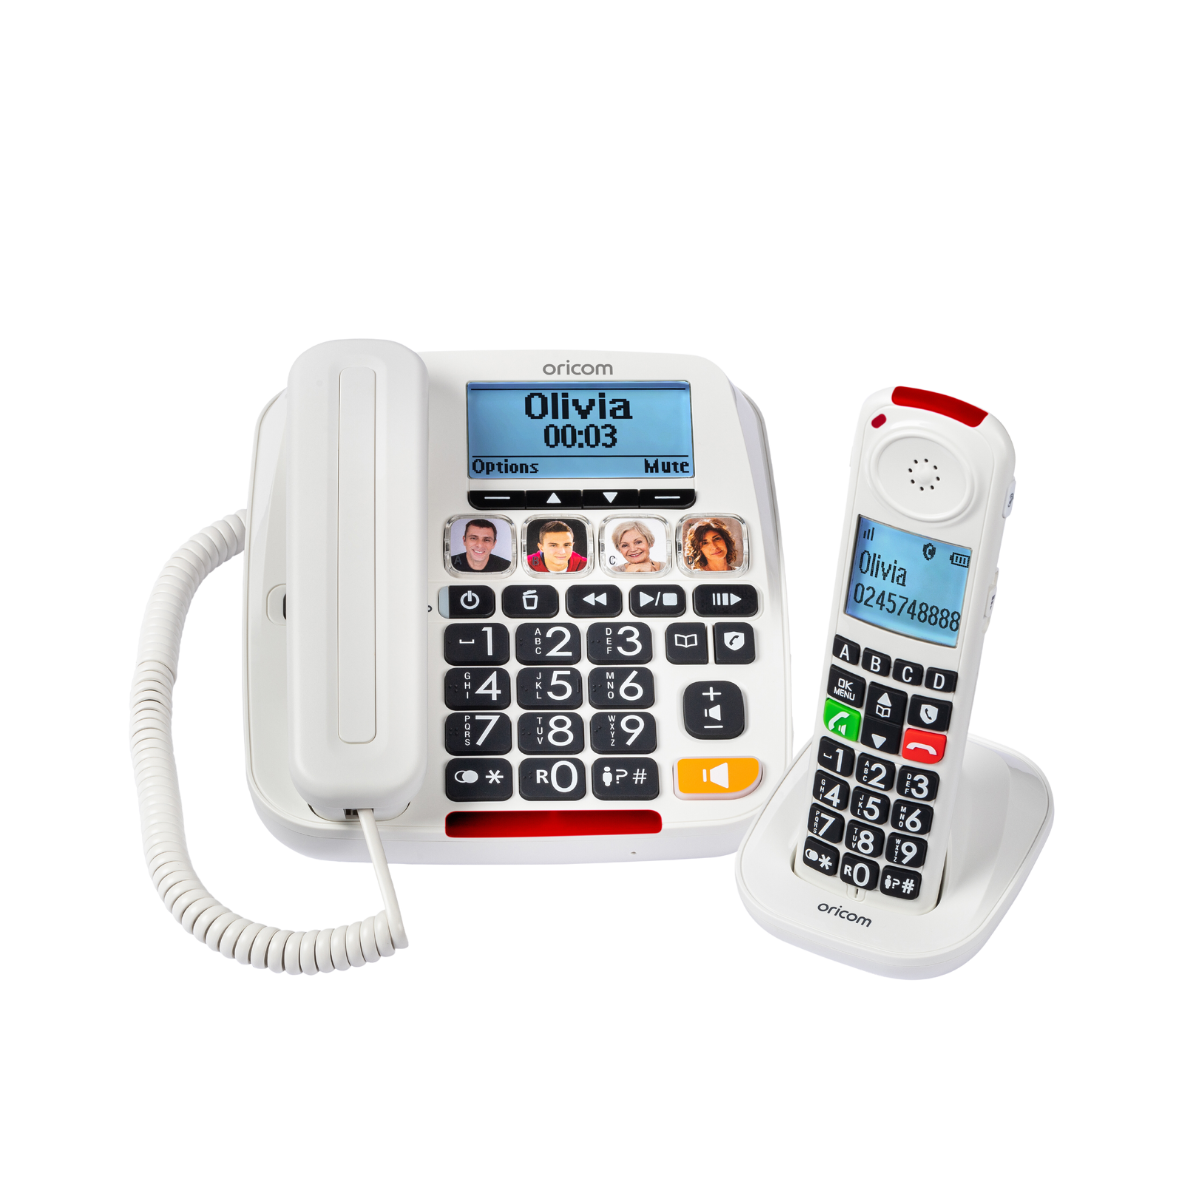 Senior Care
 Air Purifiers
 UHF CB Radios
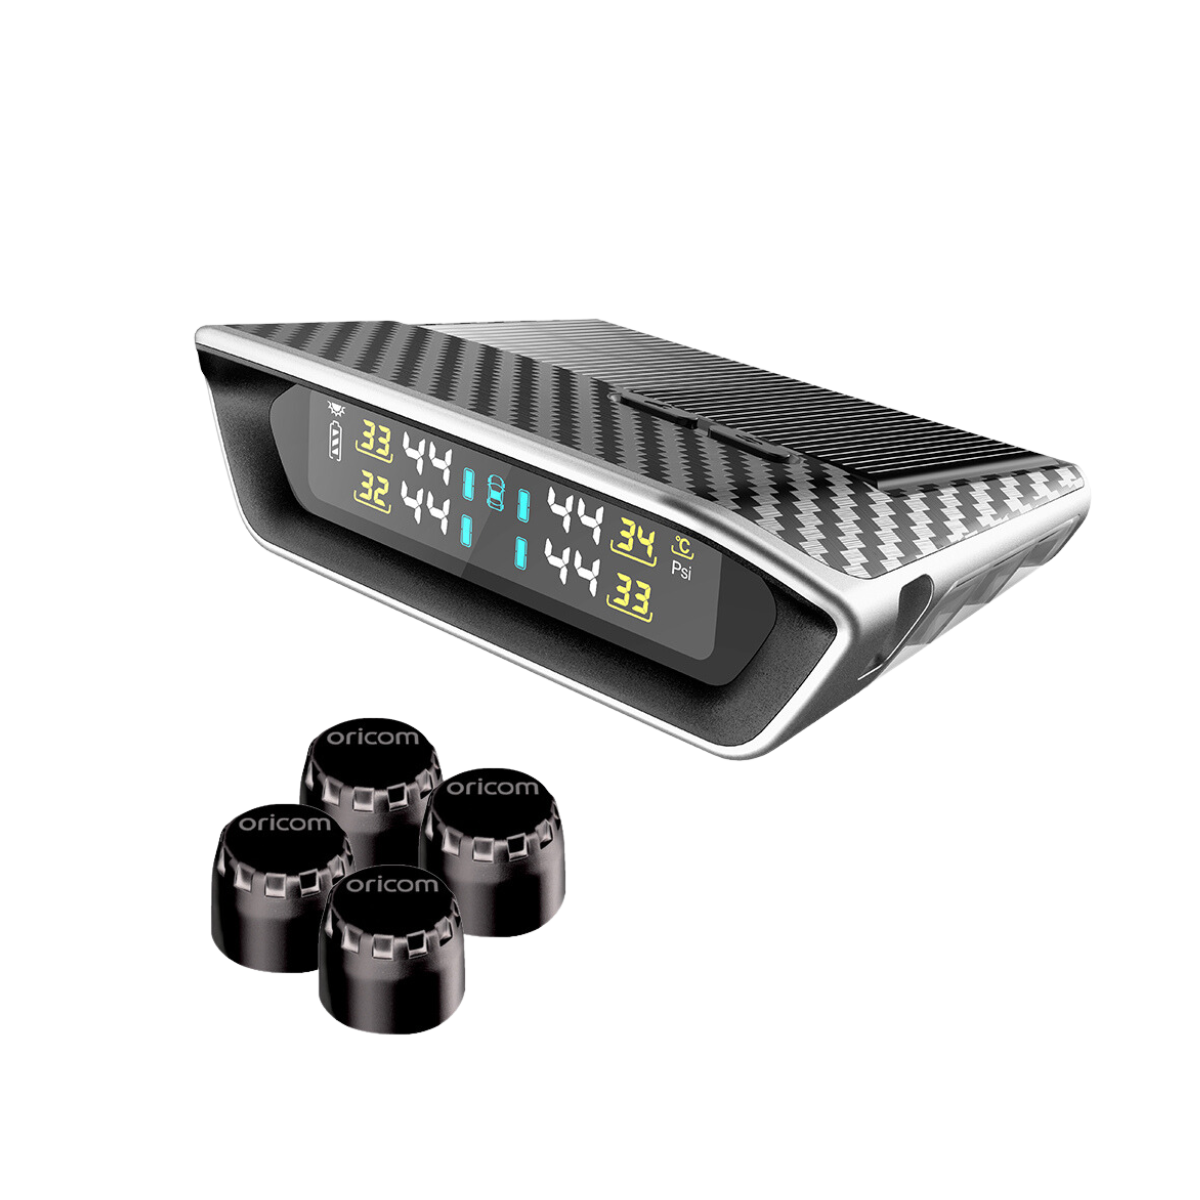 Tyre Pressure Monitors
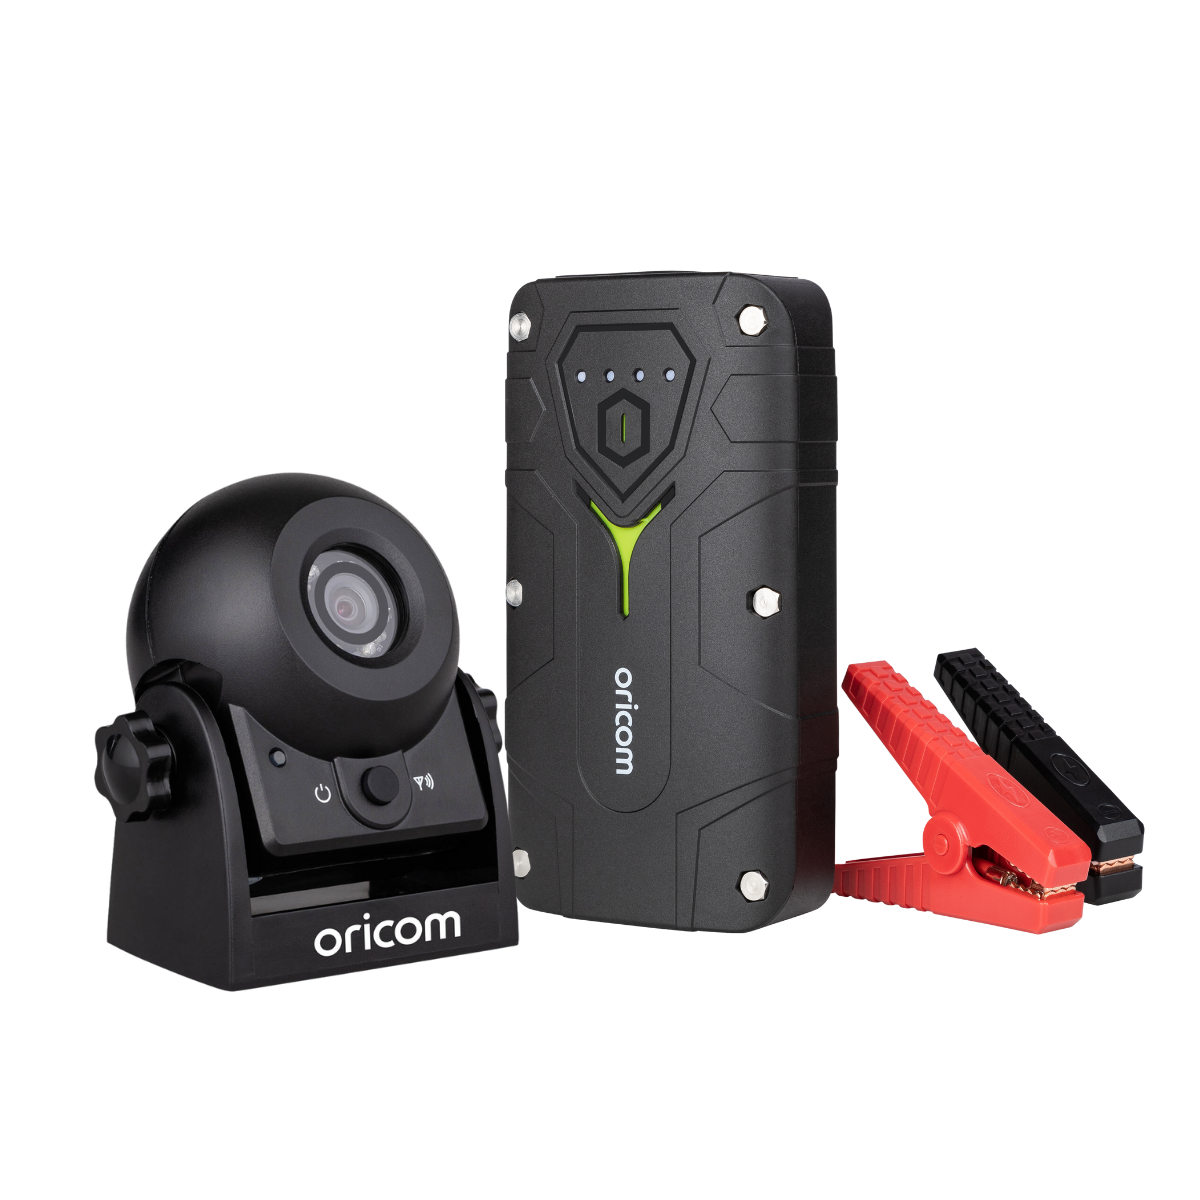 Automotive Products
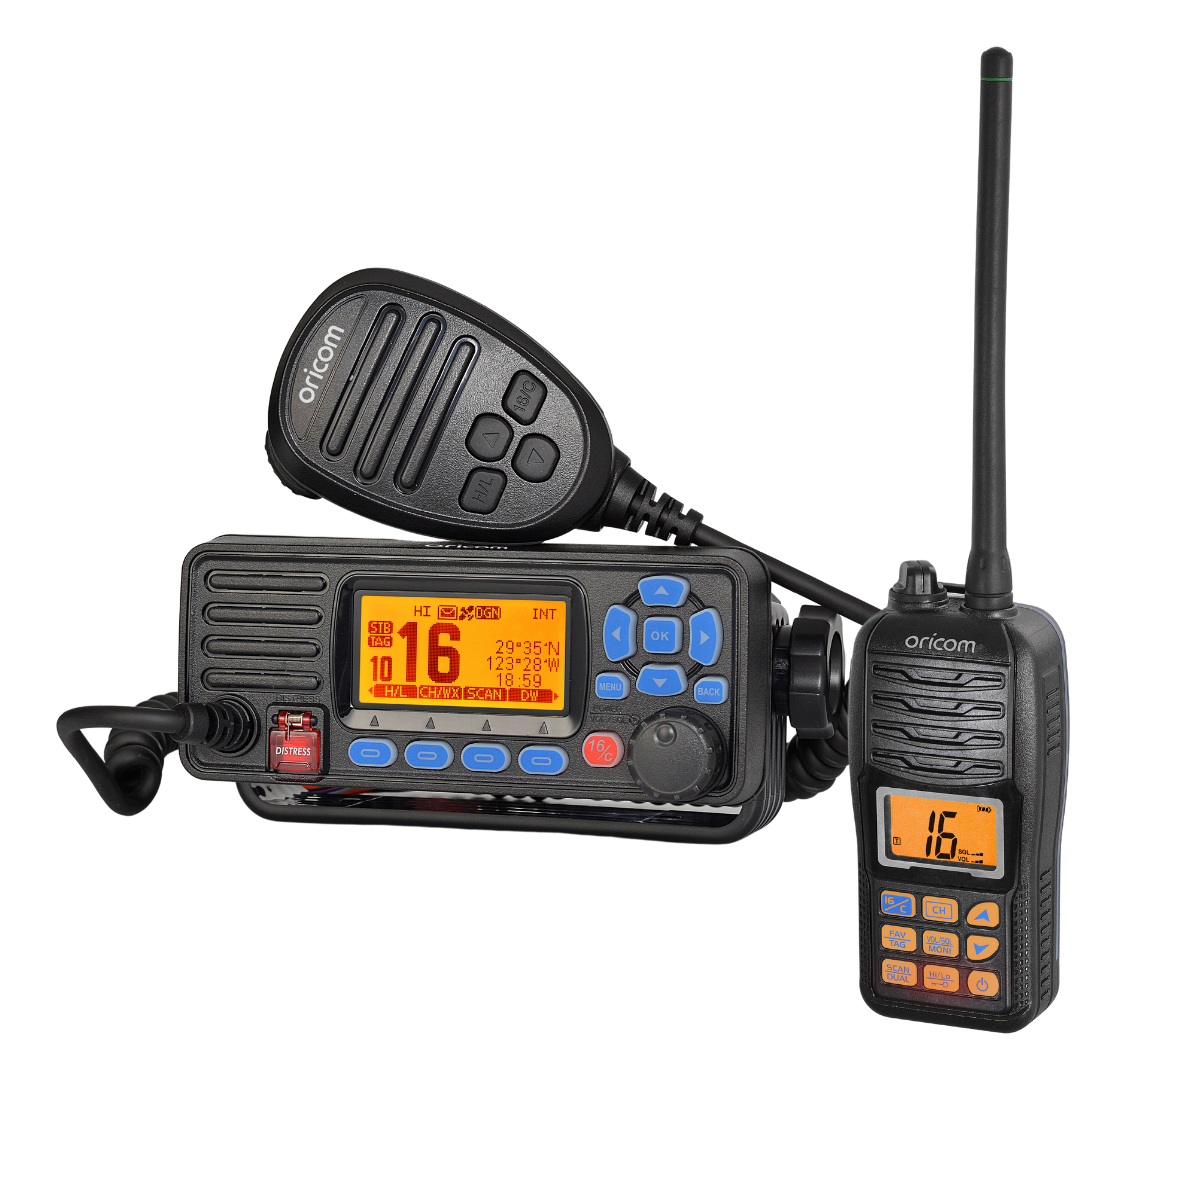 Marine VHF Radios

More than 20 years of experience
Oricom International, founded in 2003, is a 100% Aussie-owned company specialising in communication and monitoring technologies. We are recognised in the market as leaders in design and innovation.

5M+ Aussies Trust & Use Oricom
Deeply ingrained in the Australian market, Oricom has garnered the trust of over 5 million Australians who rely on their quality communication and monitoring technologies. Our commitment to innovation and reliability has made us the preferred choice.
Proven Track record of quality
Our history, reviews and sales demonstrate a consistent commitment to delivering exceptional quality to our customers. Trust in our proven track record for excellence.
Baby Care
UHF CB Radios
Automotive Products
Marine Range
Senior Care


")